Setting up Microsoft Hyper-V® for MiVoice MX-ONE
To install a Hyper-V machine instance make sure your system meets the following requirements:
- Installed Windows Server 2022 or 2019
- Have a Windows License (no other special licenses needed)
- Runs on a Dell and HP server
- Have .vhd and .vhdx format image for installation
Enabling Hyper-V
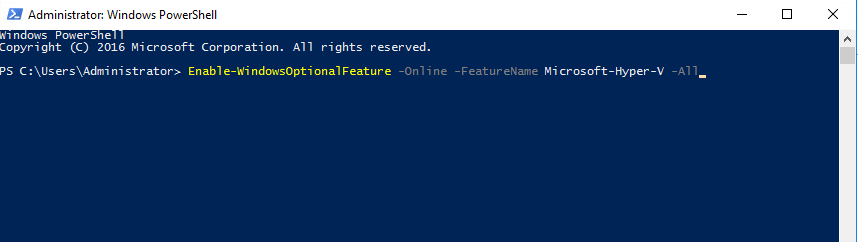
To enable Hyper-V using a power shell:
- Open a PowerShell console as Administrator.
- You can do either of the following:
- Run the following comand: Enable-WindowsOptionalFeature -Online -FeatureName Microsoft-Hyper-V -AllFigure 1. Windows PowerShell
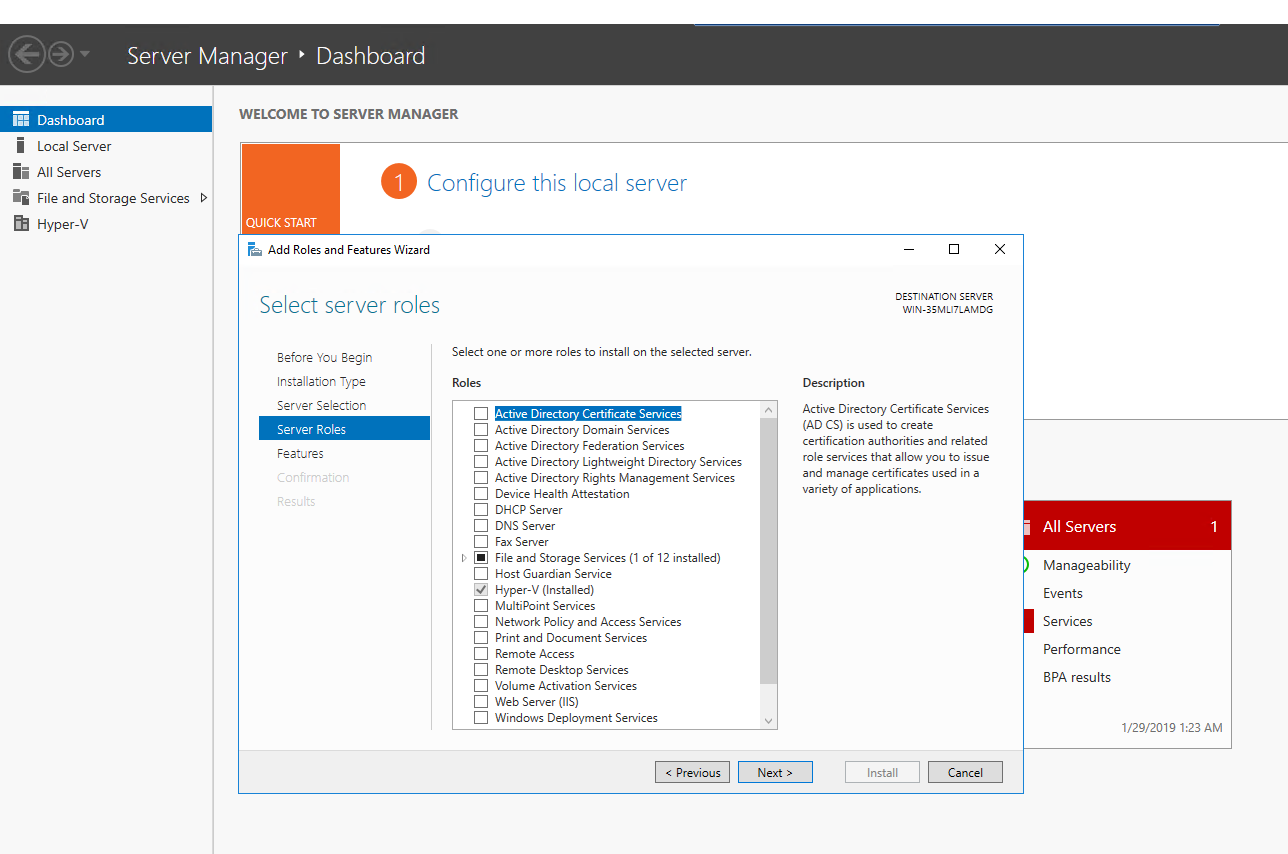
- Open Server Manager and select Server Roles to add role and features and Install Hyper-VFigure 2. Server Manager - Configure Local Server
- Run the following comand: Enable-WindowsOptionalFeature -Online -FeatureName Microsoft-Hyper-V -All
Installing Hyper-V
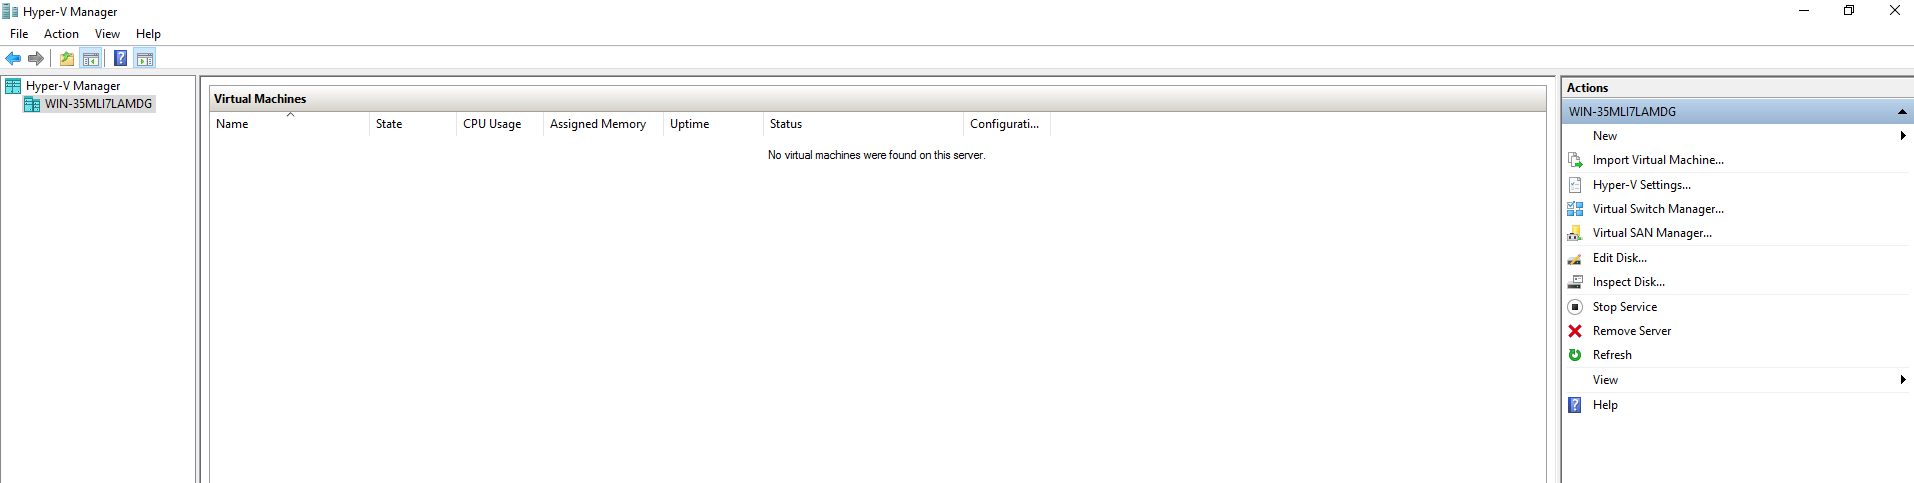
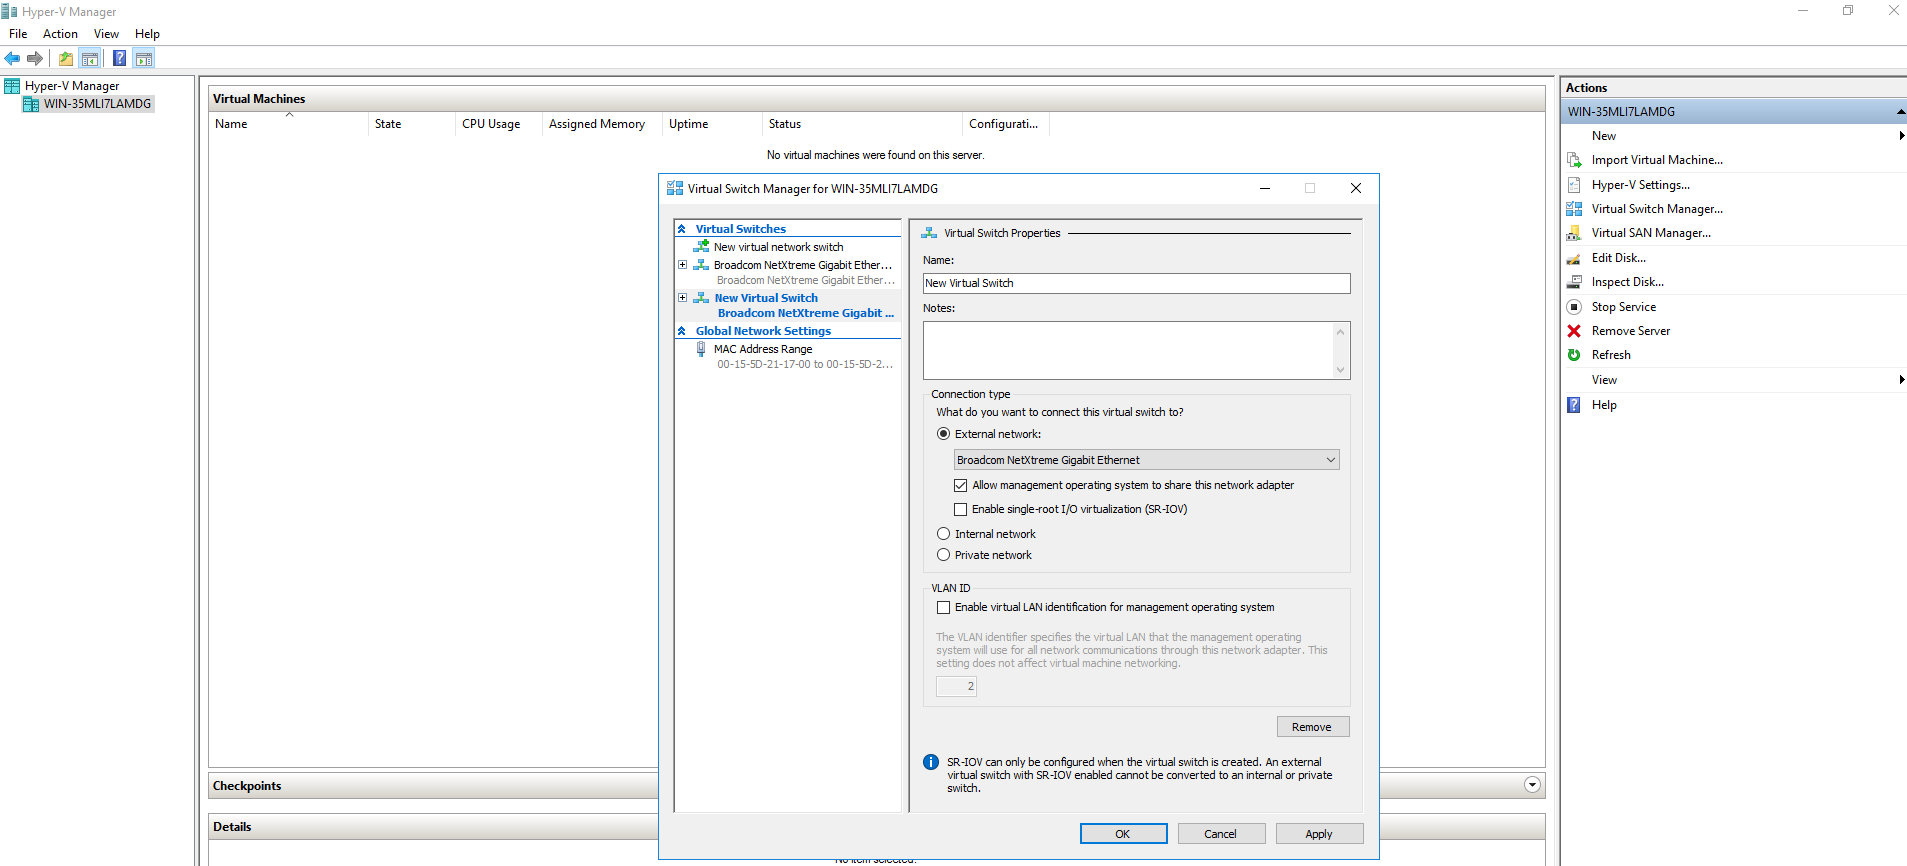
- Before you install Hyper-V, create a Virtual Switch Manager for Hyper-V to give network access to the virtual machines.
- Select Virtual Switch Manager.Figure 3. Virtual Switch Select
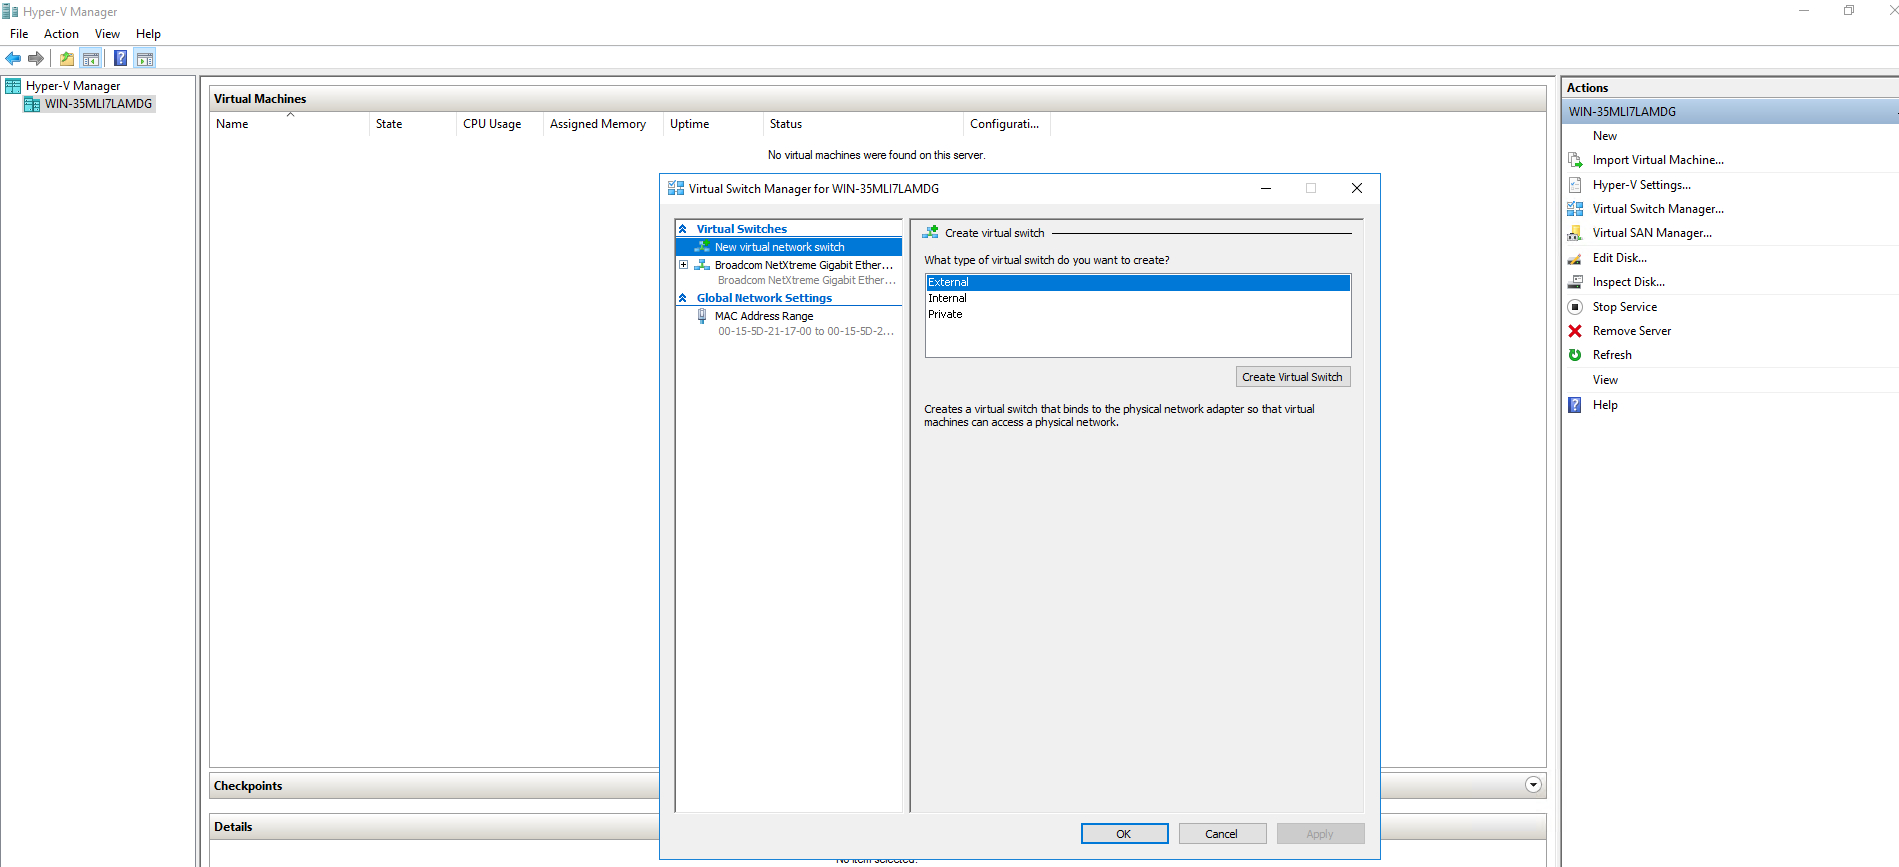
- Select type of switch, External Switch.Figure 4. Switch Type
- Enter the name to the switch and click Apply.Figure 5. Switch Name
- Go to Control Panel > Network Internet > Network Connections to view the new virtual manager that you created in the above step.Figure 6. Network Connections

- Select Virtual Switch Manager.
- Create a Virtual instance:
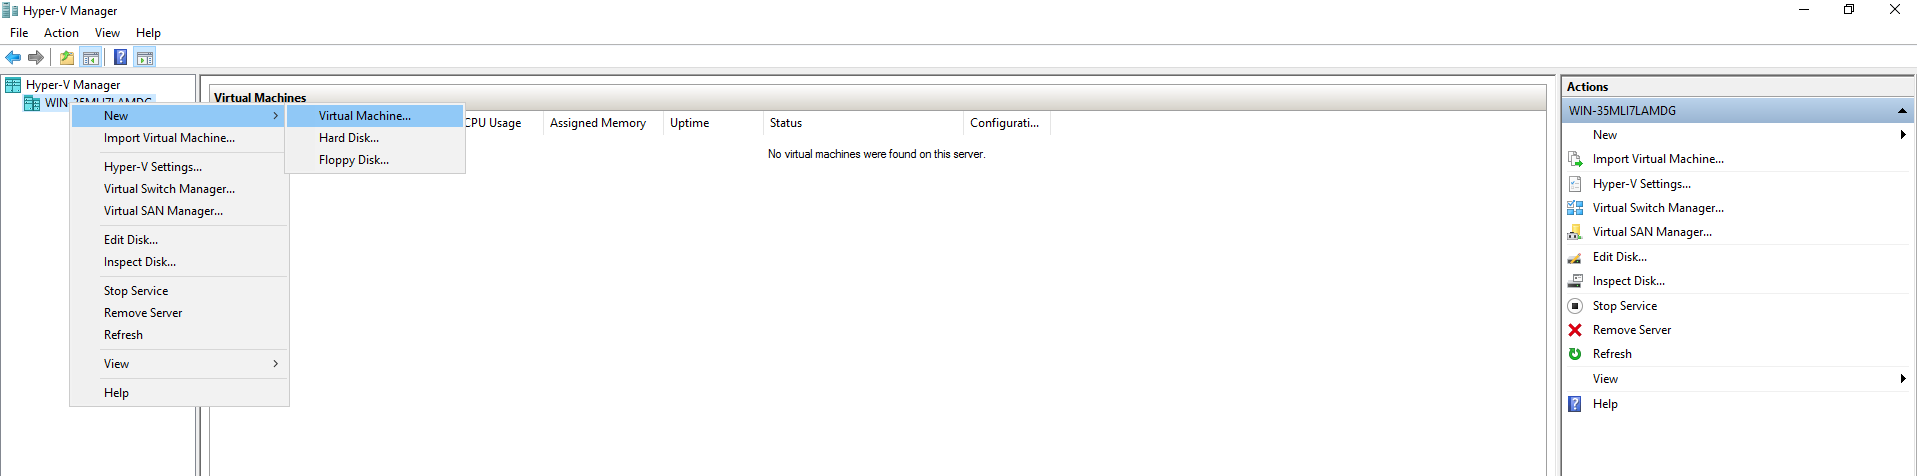
- Select New > Virtual Machine.Figure 7. Virtual Machine - New
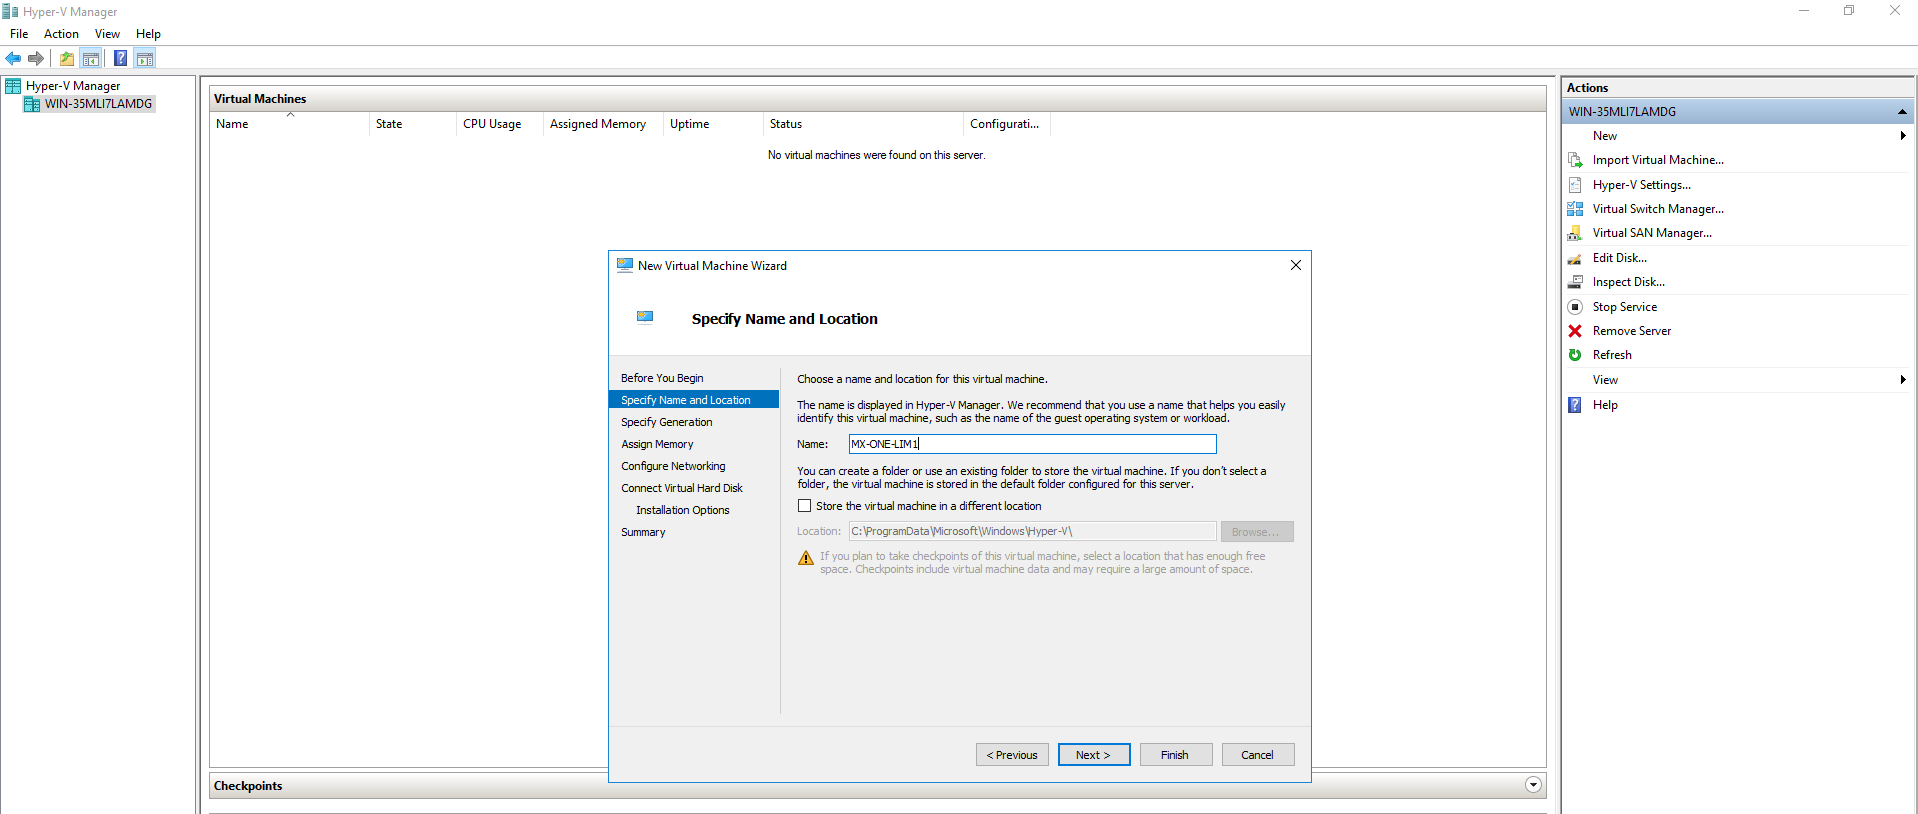
- Enter the name of the virtual instance.Figure 8. Specify VM Name and Location
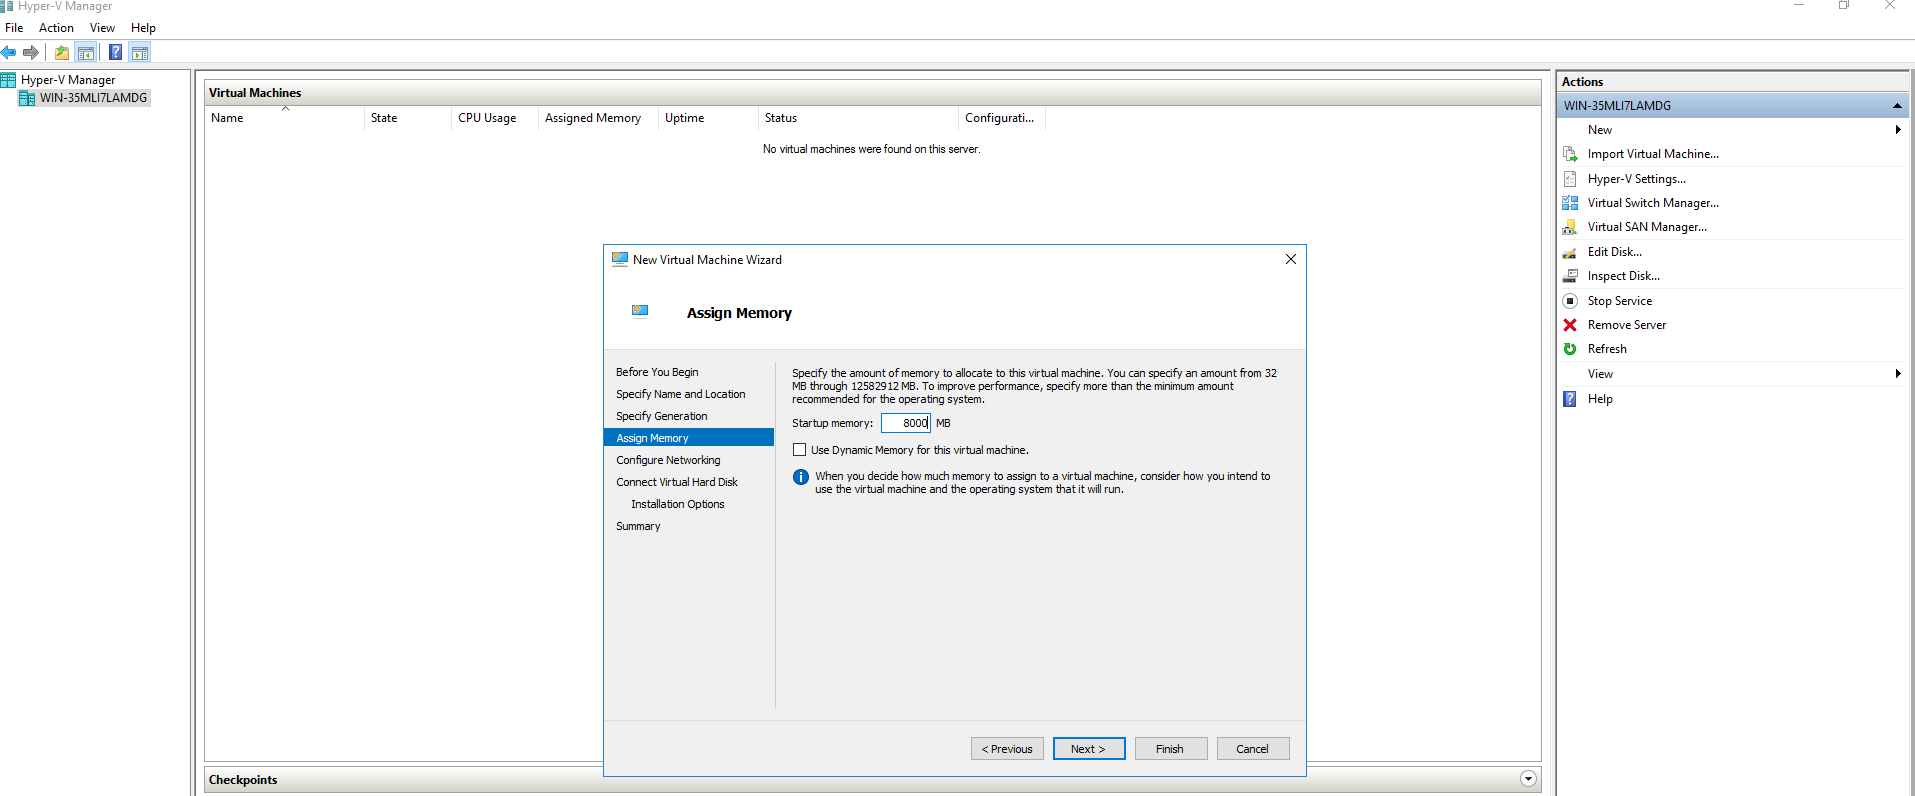
- Assign the memory required for the virtual instance.Figure 9. Assign Memory
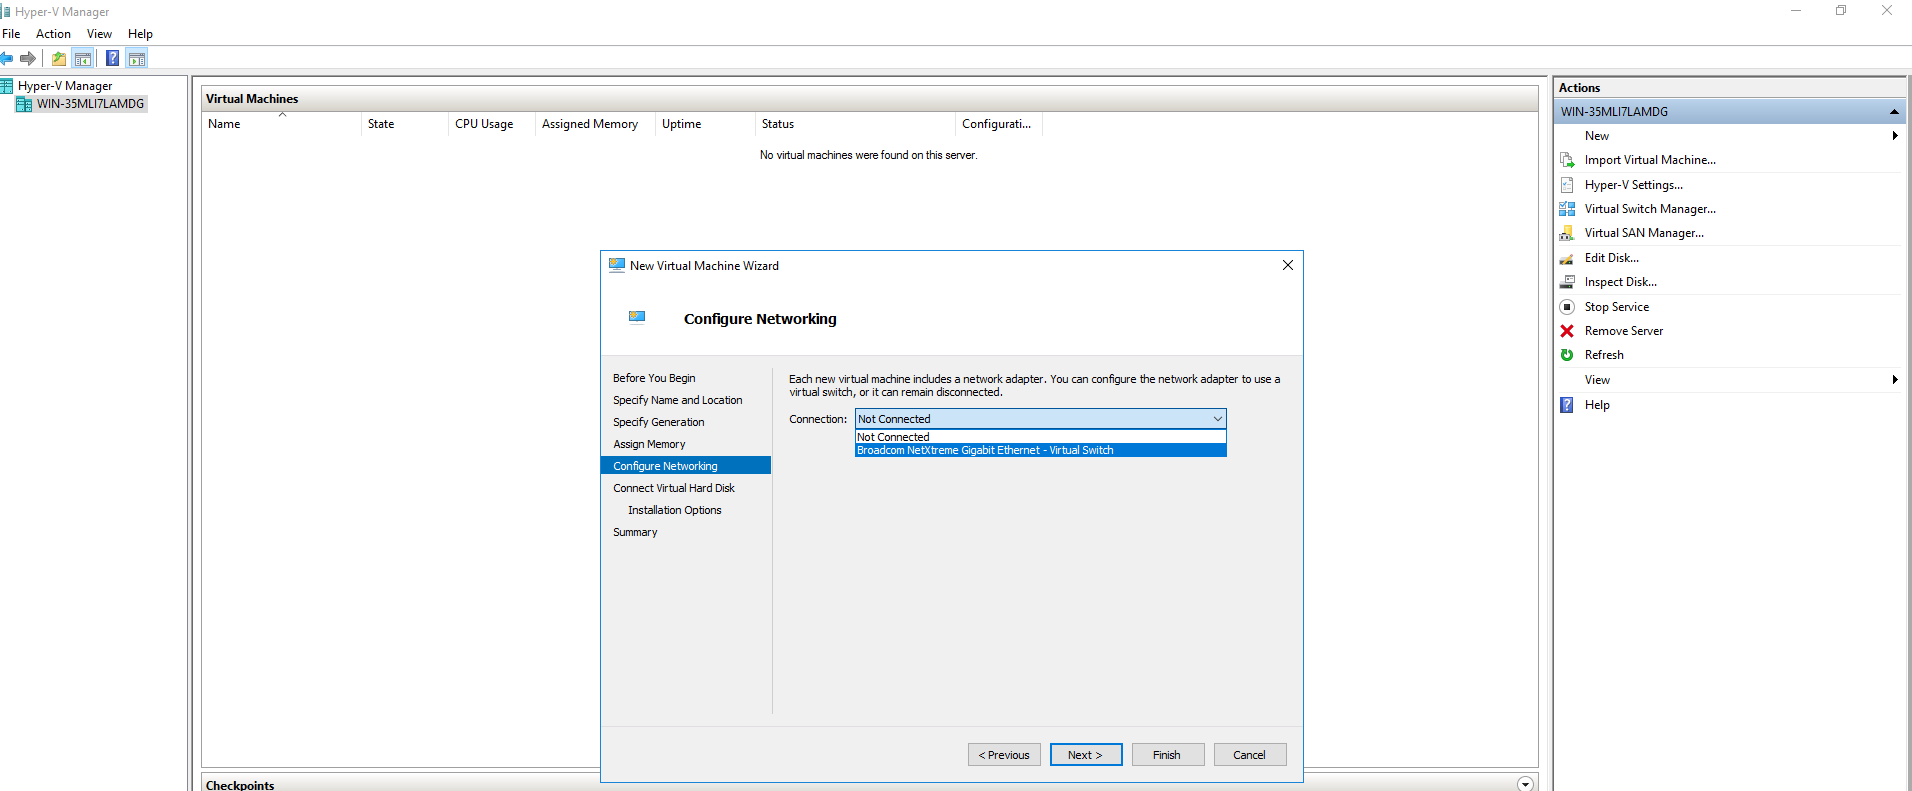
- Select the network switch that you configured initially.Figure 10. Network Selection
- Select the image (VHD). Use an existing virtual Hard disk and select the location where your VHD image is stored. For MX-ONE, unzip the Hyper-V image and select the Virtual Hard Disk.Figure 11. Image Selection_1
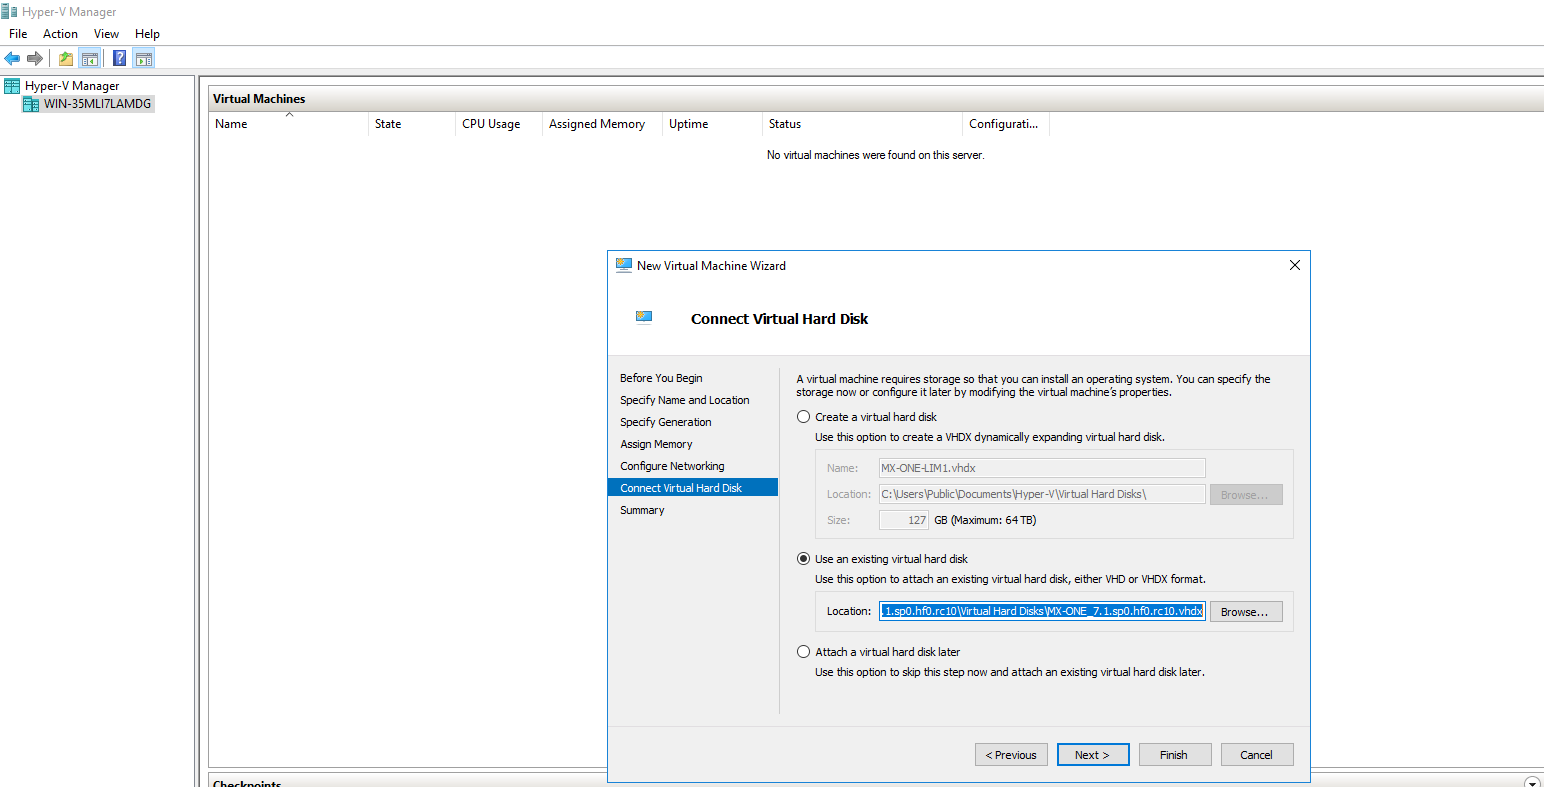 Figure 12. Image Selection_2
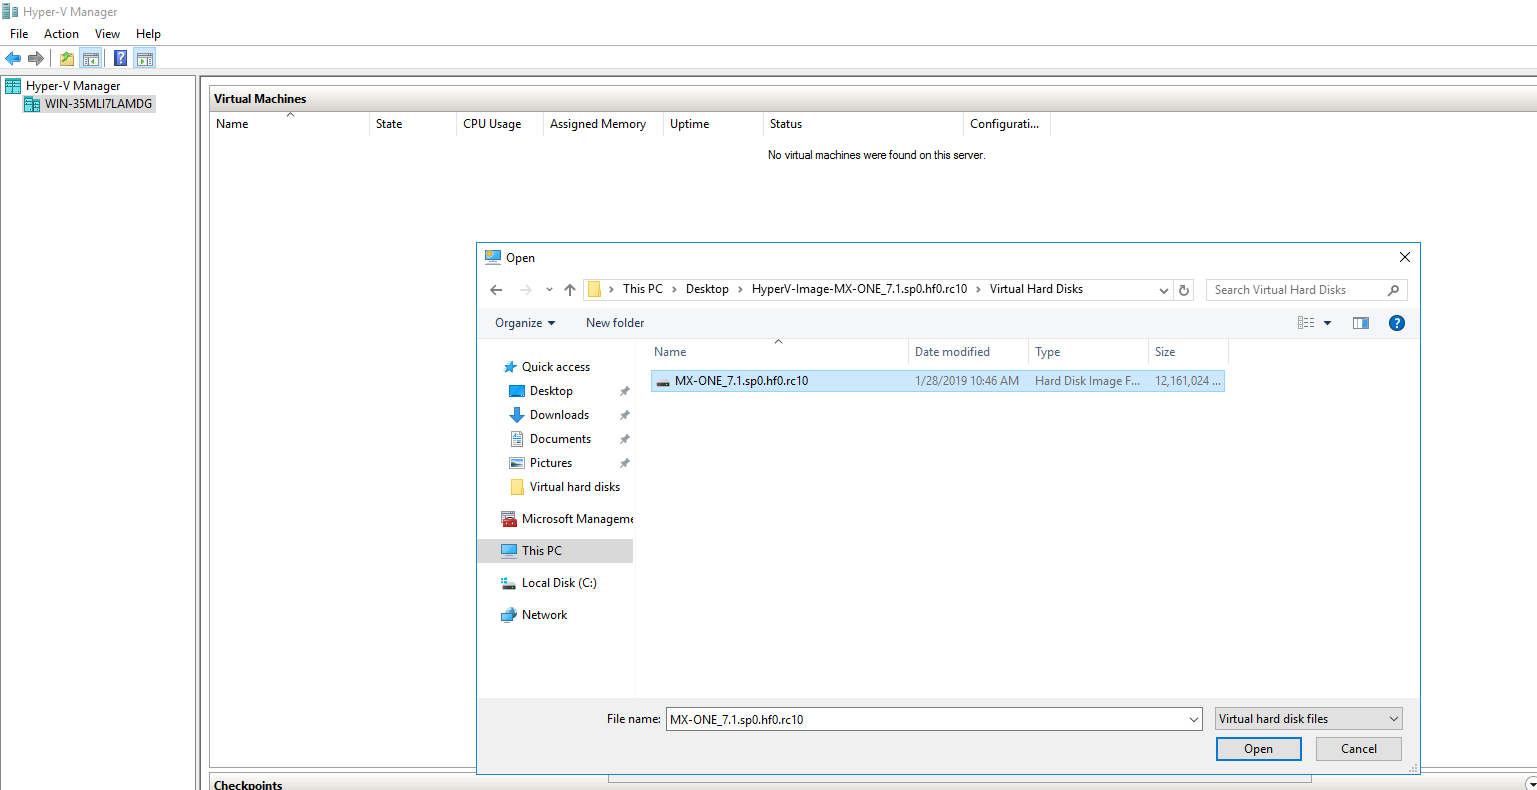
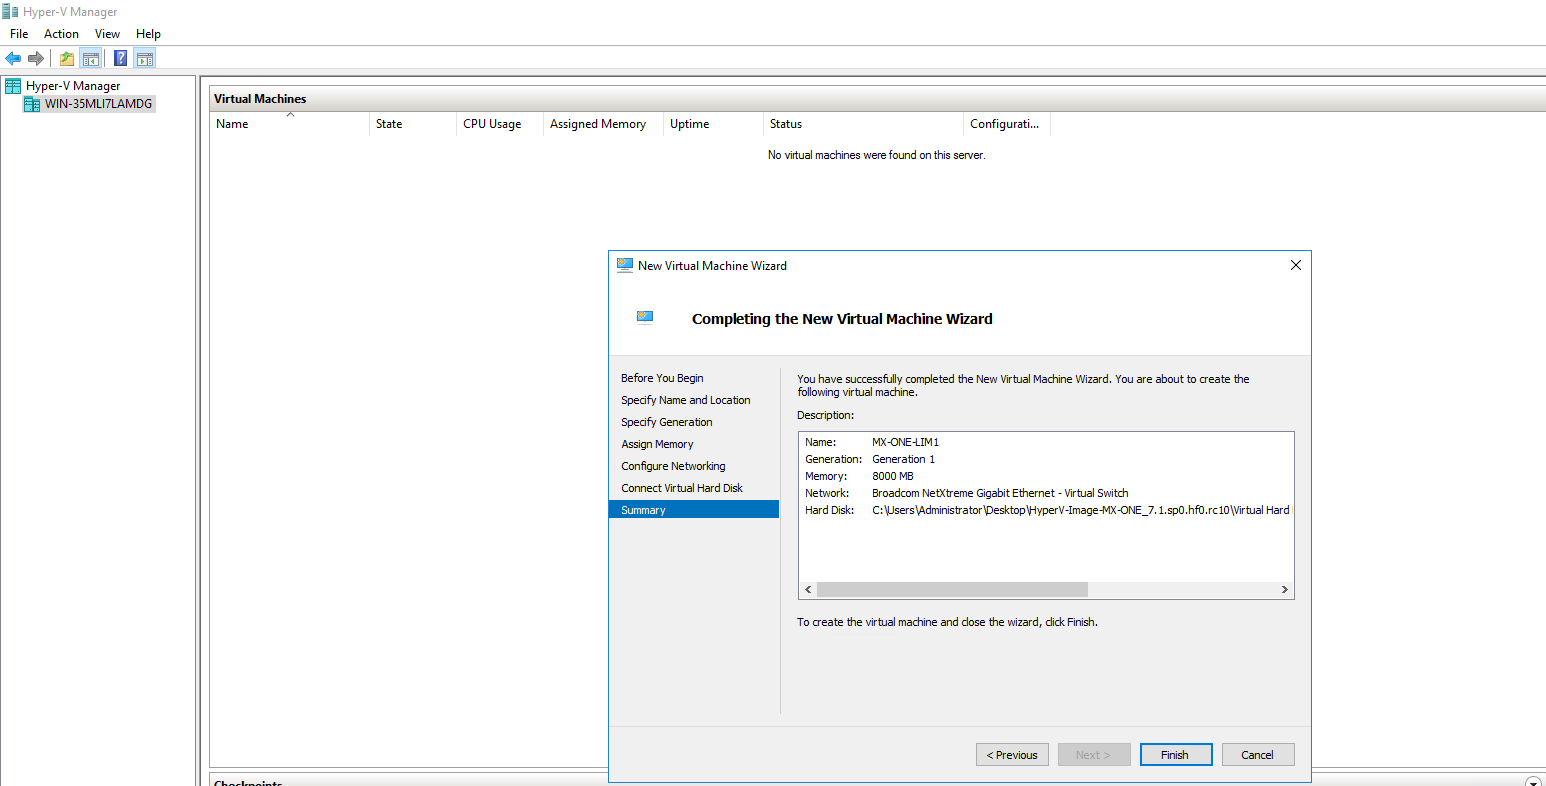
- Review the summary of the configuration details and click Finish.Figure 13. Review Summary
- Select New > Virtual Machine.
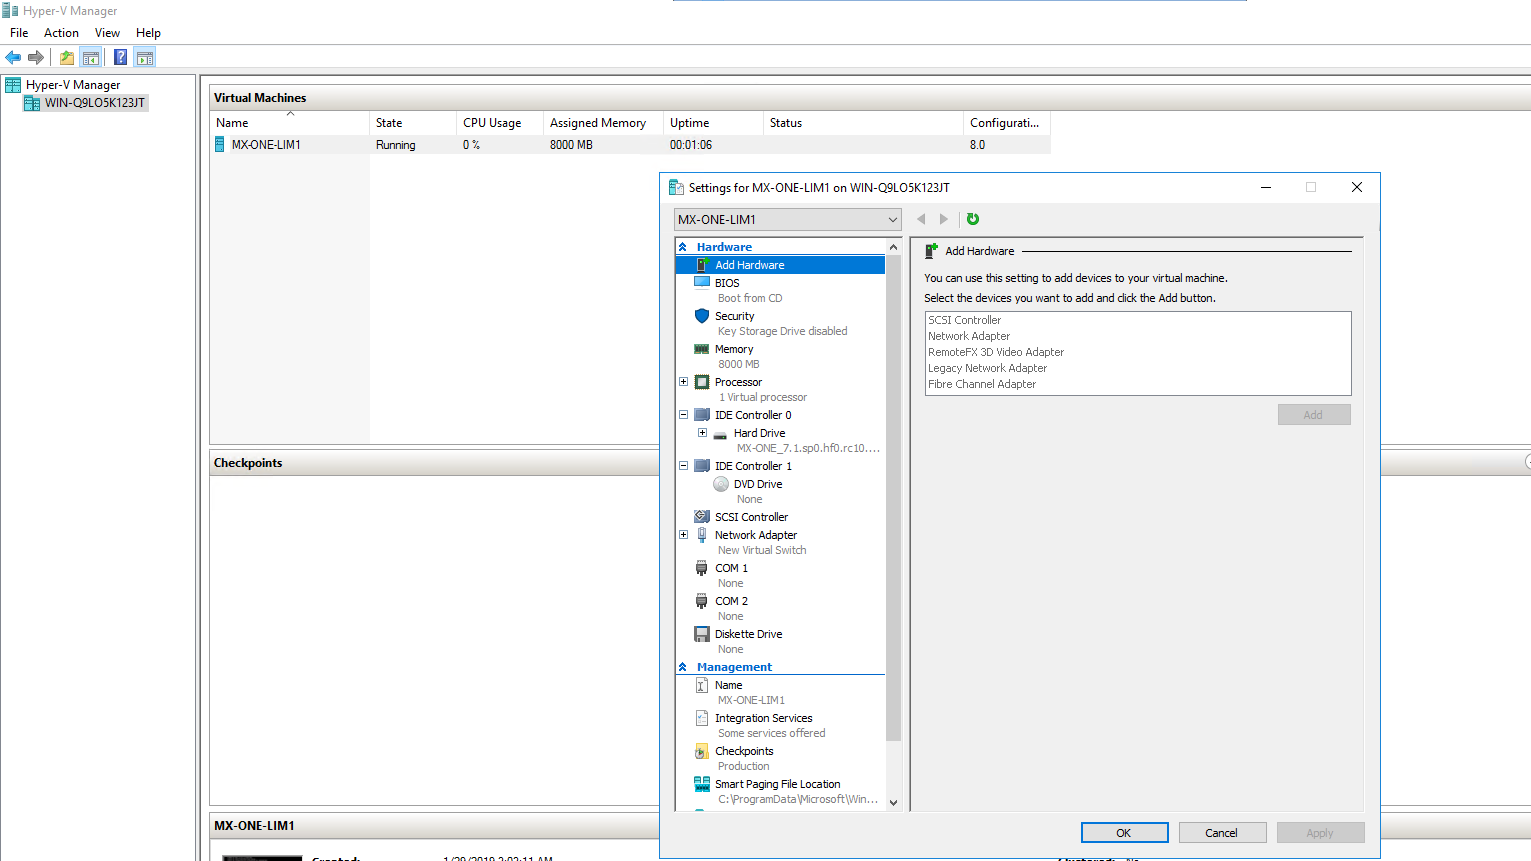
- Change virtual machine settings as per the requirement.Figure 14. Change VM Settings
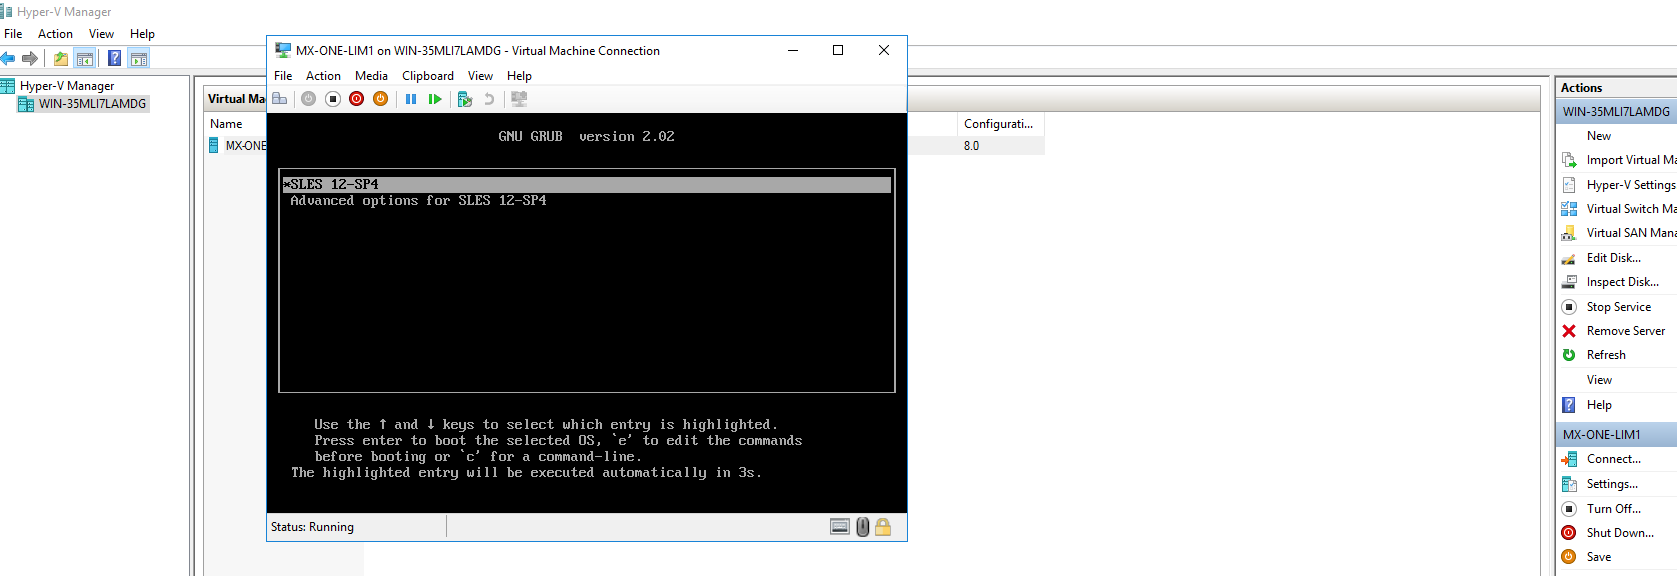
- Start the virtual machine.Figure 15. Select VM
- Install MX-ONE on the virtual machine instance:
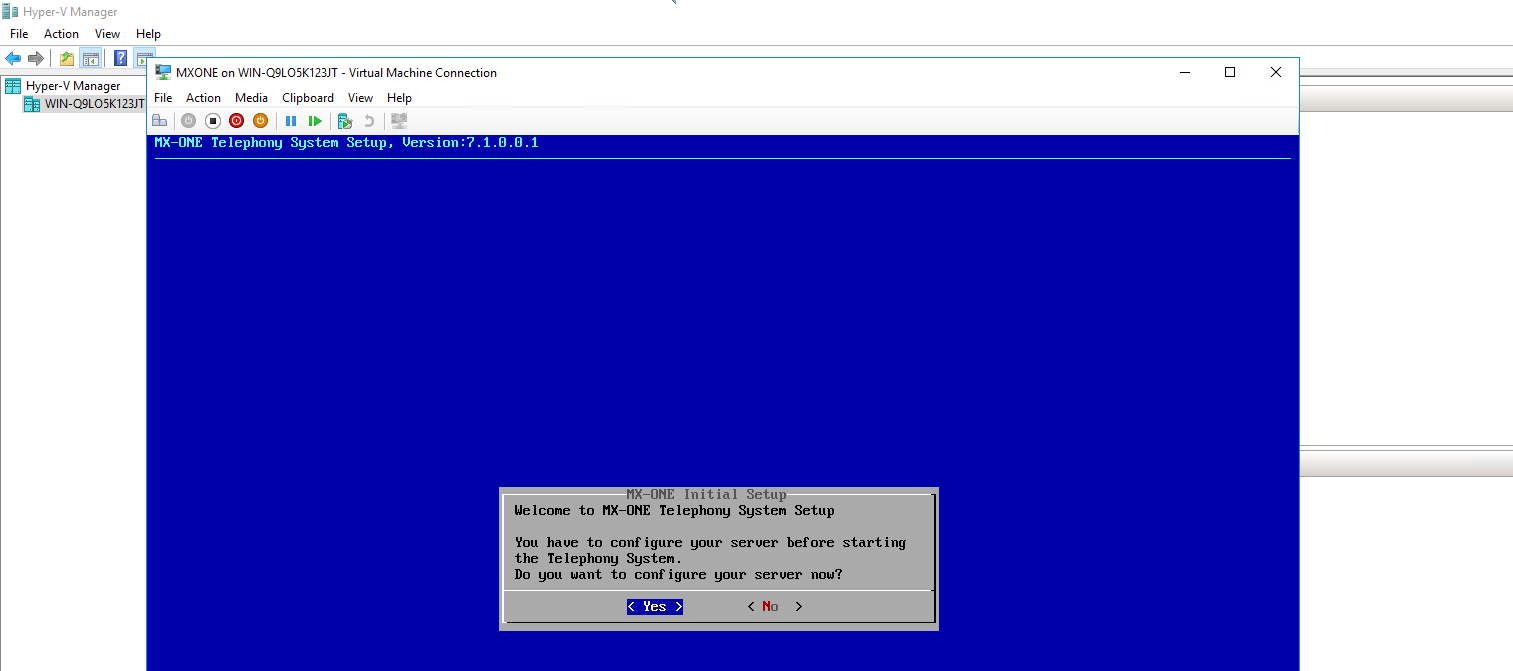
- Click Yes to configure the MX-ONE server.Figure 16. MX-ONE Initial Setup
- The network service restarts:Figure 17. Network service restart
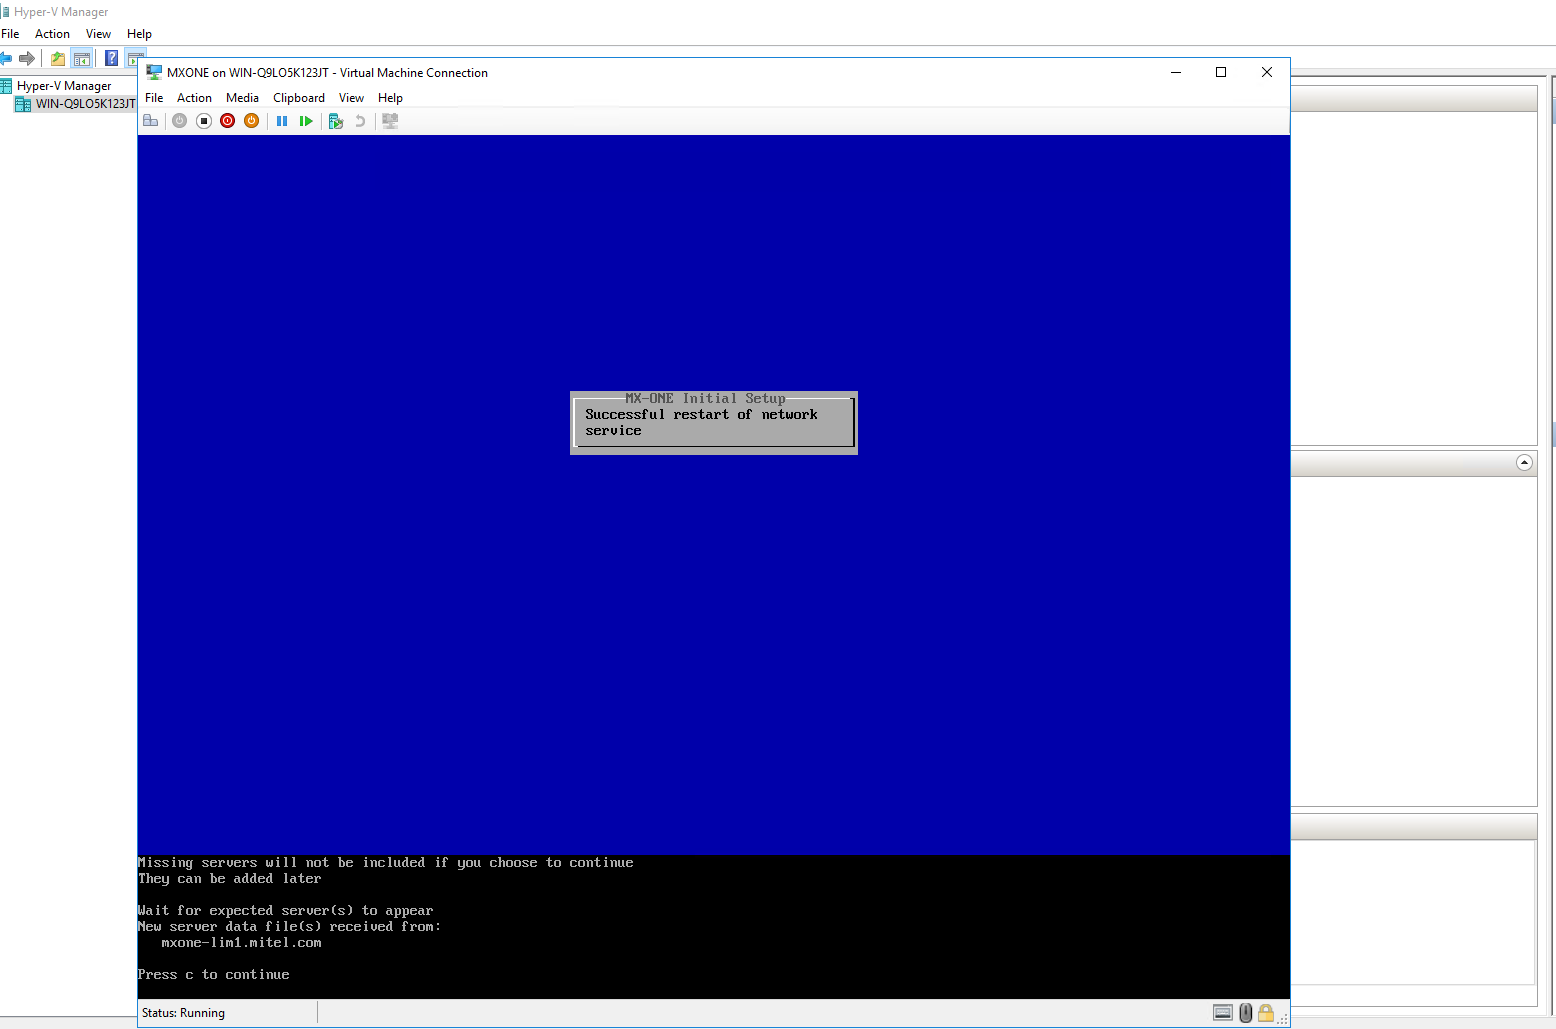 Figure 18. MX-ONE Setup Complete
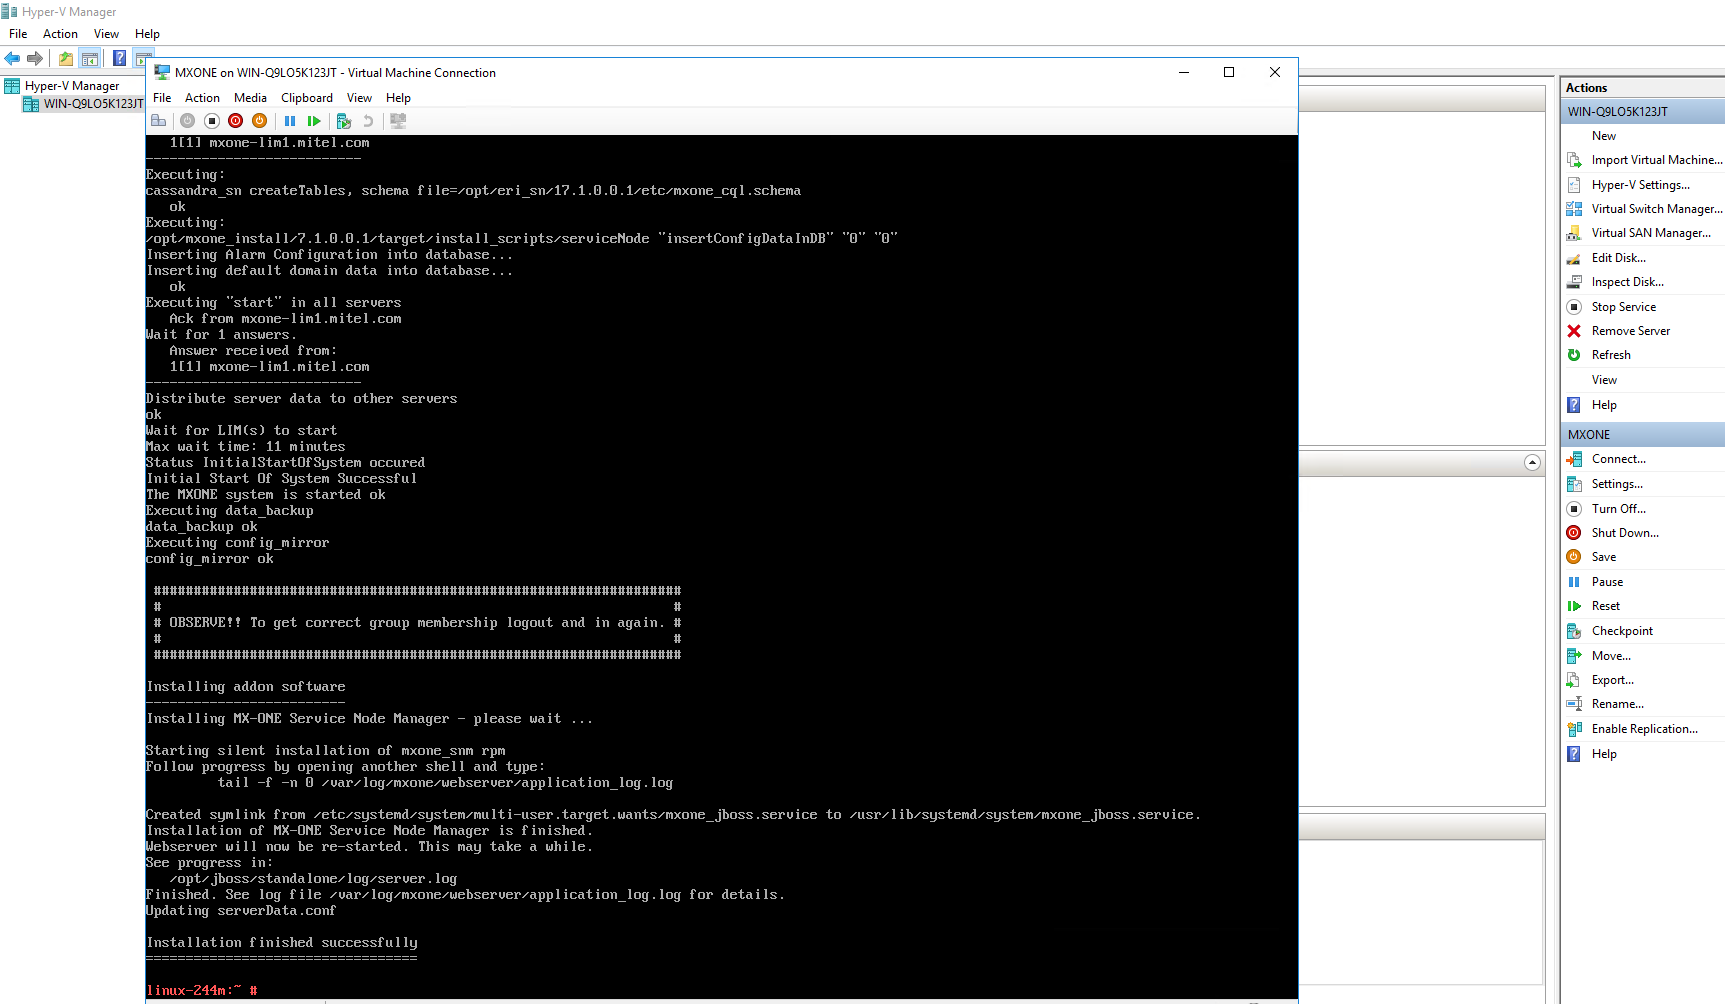
- Click Yes to configure the MX-ONE server.
↑