Create the MX-ONE VM using the Imported AMI
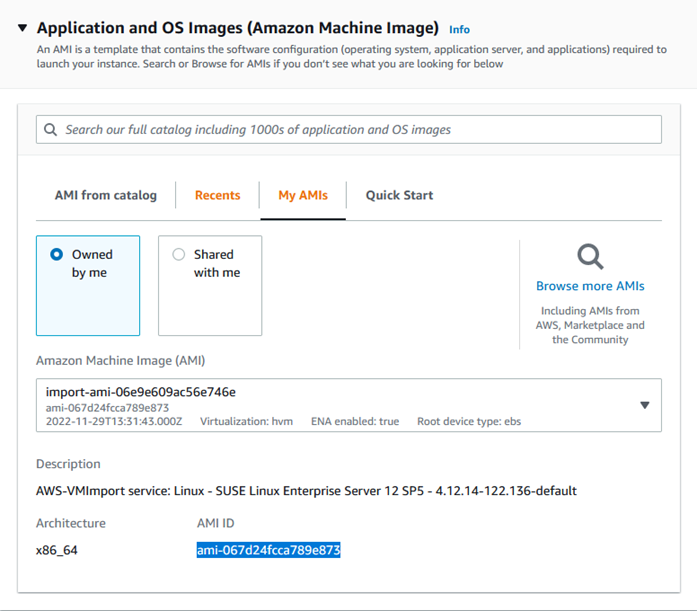
- Search by AMI.

- Select proper AMI and then click Launch
instance from AMI.
- Information about the selected AMI is displayed.
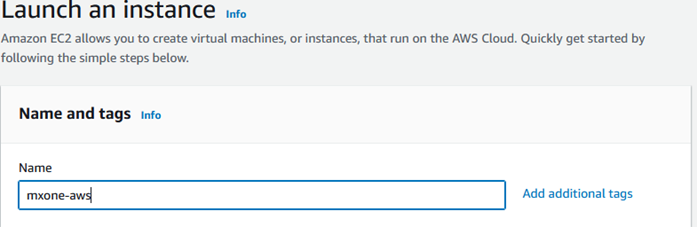
- Assign a name to the VM and select a proper instance type that is at least t3.large or better.
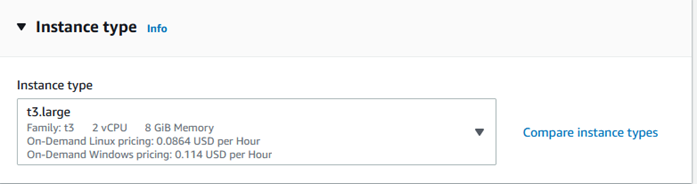
- Adjust the VM size according to the MX-ONE system size. The MX-ONE Virtualization and IOPS Disk and Network bandwidth requirements documents are valid to AWS and cloud deployments.
The recommended Virtual Machines sizes are to be used with MX-ONE 7.5 and later are:
- Minimum: Family t3.large (2vCPU, 8GB Memory)
-
t3.xlarge (4vCPU, 16GB Memory) or equivalent *
- t3.2xlarge (8vCPU, 32GB Memory) or equivalent *
-
- High Performance : Compute Optimized Family Series
c5n.xlarge (4vCPU, 10.5GB Memory) or equivalent *
c5n.2xlarge (8vCPU, 21GB Memory) or equivalent *
* The size of the virtual machines needs to be defined by the number of SIP users, the MX-ONE application and total number of users in the database used in the virtual machine.
- Minimum: Family t3.large (2vCPU, 8GB Memory)
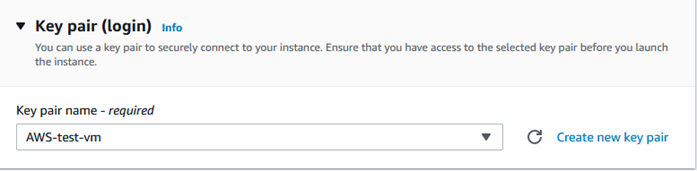
Select the generated key pair.
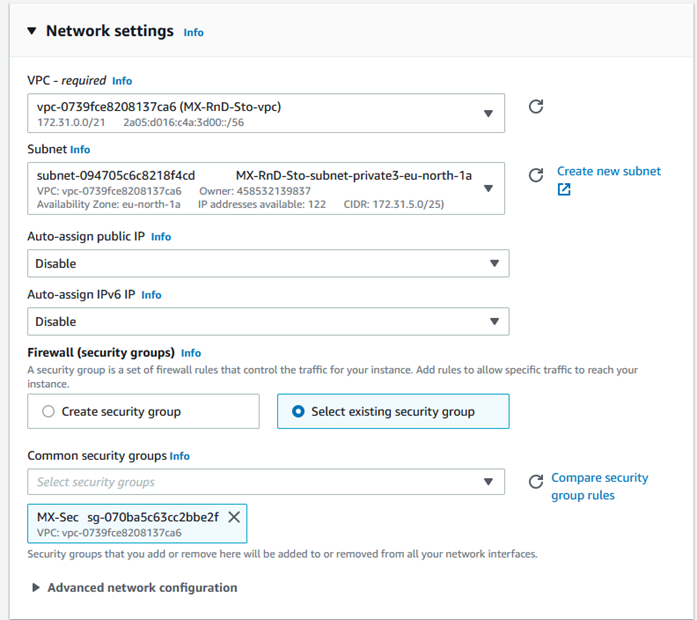
In network setup, choose the VPC created earlier with correct network and select the security group as well.
- Follow the steps shown in the GUI or follow the steps in the Create a VM from an AMI.
- Note that when deploying MX-ONE in AWS, the MX-ONE redundancy options are not available. To have availability in MX-ONE system, the AWS built-in resources must be used.
- In security group, add the correct ports for inbound/outbound traffic, if required. Those can be alternatively configured in the company firewall (VPN connection to premises).Note: Any type of traffic that needs to be directed to MX-ONE or any application in AWS requires a rule. This is not covered in this document. For additional information on MX-ONE TCP/UDP/SCTP ports, see Chapter 13 IP Protocols and Ports in the MiVoice MX-ONE System Planning – Description document.
- In the Networking settings section, select the appropriate subnet and security group.
- Configure the server IP address as Primary IP in Network settings > Advanced network configuration. If the server will have Cassandra database installed on it, configure the database IP in Secondary IP.
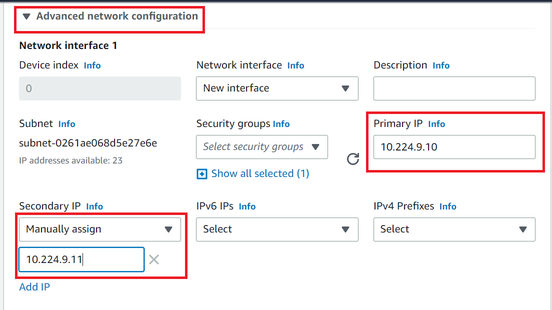 Note: The first four IP addresses and the last IP address in each subnet CIDR block are not available for your use, and they cannot be assigned to a resource, such as an EC2 instance, see https://docs.aws.amazon.com/vpc/latest/userguide/configure-subnets.html#subnet-sizing.
 - Check the summary.
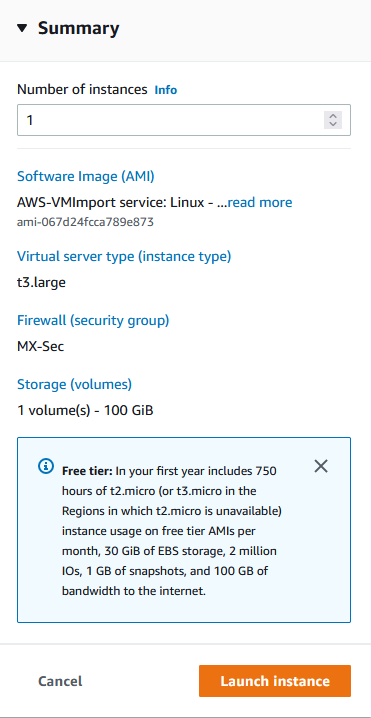
- If the information is correct, click Launch instance and wait for the VM to be created.
↑