Creating VM on VMware vCenter Cluster
This section describes how to create the VM and and how to install the SuSE Linux (Guest OS) on a single VMware ESXi host through the VMware vCenter Cluster.
Such an environment contains multiple hosts, centralized storage, and distributed network and supports the VMware vCenter features such as vMotion, High Availability (HA), and Fault Tolerance (FT).
Prerequisite
Ensure that you have downloaded the Recovery_Image-MX-ONE_xx.xx.hfx.rcxx.iso file from the distribution server, and uploaded the to the preferred VMware data-store.
Login to the VMware vSphere Client.
You can use either vSphere client or vSphere Web client.
- On vSphere client, right click on the proper cluster and select New Virtual Machine….Figure 1. New VM Creation
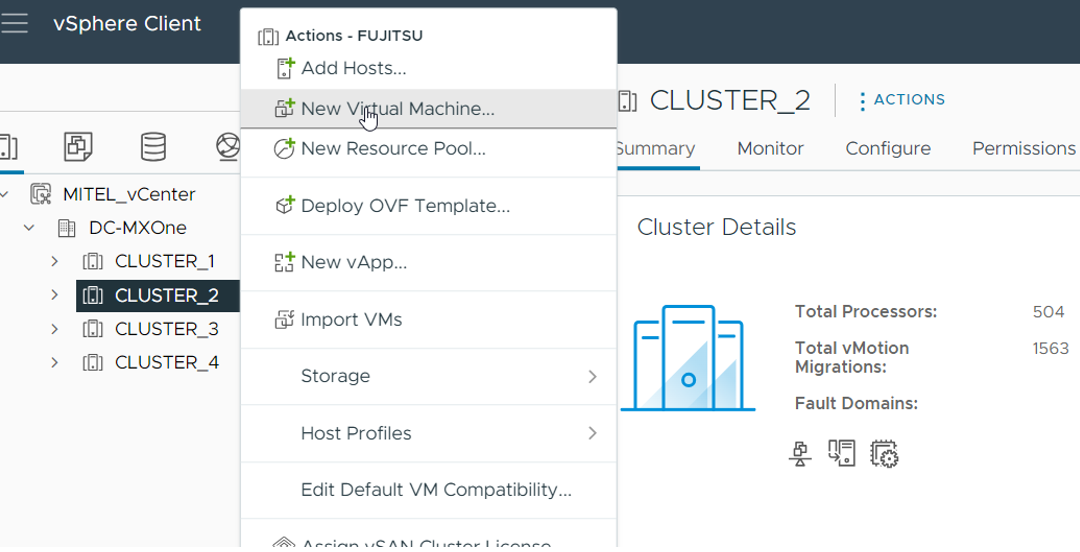 A wizard appears requesting information about the New Virtual Machine.
Select a creation type: Select Create a new virtual machine and click Next.
Select a name and folder: Enter the virtual machine name and select the desired data-center.
Select a computer resource: Select a host or cluster that should handle the new virtual machine.
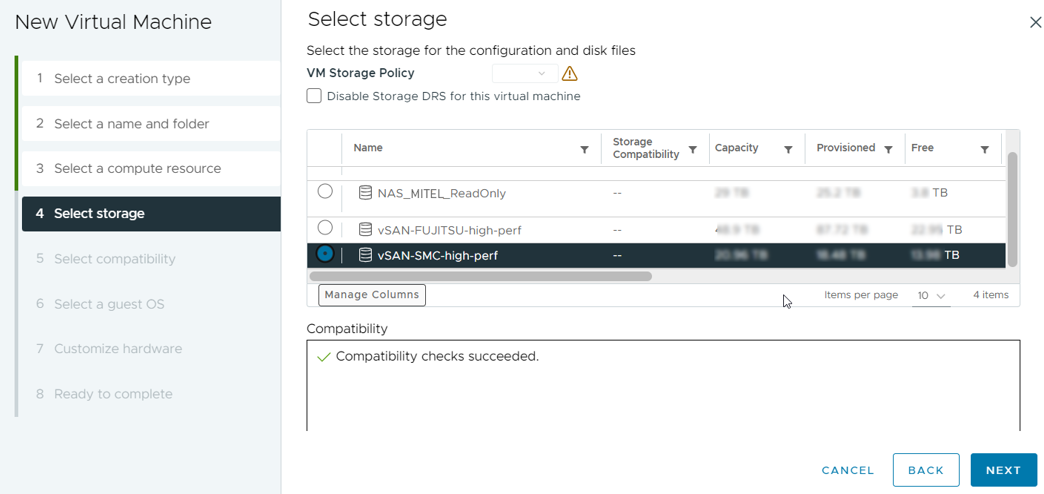
Select storage: Select a storage for the virtual machine.
Note: Choose a centralized storage solution (such as a SAN) if high availability (HA) or fault tolerance (FT) will be required.
Select compatibility: Select the latest ESXi compatibility option for this VM.
- Select a guest OS:
As a Guest OS family, select Linux.
As a Guest OS version, select SUSE Linux Enterprise 12 (64-bit).
- Customize hardware: Select the number of CPU cores, memory size, disk size, and also the right network settings (VLAN and Adapter type). For more information on hardware customization, refer to the 71/1551-ANF90143_MiVoice MX-ONE Engineering Guidelines and 74/1551-ANF90143_MiVoice MX-ONE Virtualization and Public Cloud, Description.
On New CD/DVD Drive, select Datastore ISO File.
A new window is appeared.
Select the ISO file (that is uploaded in the Prerequisite) and click OK.
Select the Connect At Power on checkbox that is next to the New CD/DVD Drive.
Click NEXT.
- Ready to complete: Review the overview page and click Finish to complete the process.Figure 2. VM ConfigurationA new virtual machine will be created.
Right click on the new virtual machine and select Power On.
A welcome window is displayed on the CLI.
- Key the command install and press Enter to complete the creation of VM for MX-ONE service node.Note: To deploy multiple MX-ONE Service Nodes, repeat the above procedure for each VM. Assign unique names to each VM and distribute them across the cluster hosts, considering the cluster configuration, server count, and host load.
Start the MX-ONE installation as described in the Installing and Configuring MX-ONE.