Installing MX-ONE KVM, SuSE Linux
To install MX-ONE on the Kernel-based Virtual Machine (KVM) on the SuSE Linux platform, follow these steps:
- Download the MX-ONE ISO image (Recovery image) from the MX-ONE repository.
- Make a bootable USB and load it with the Recovery image to install OS with KVM capability.
- Run the USB and select option 3 (KVM install).
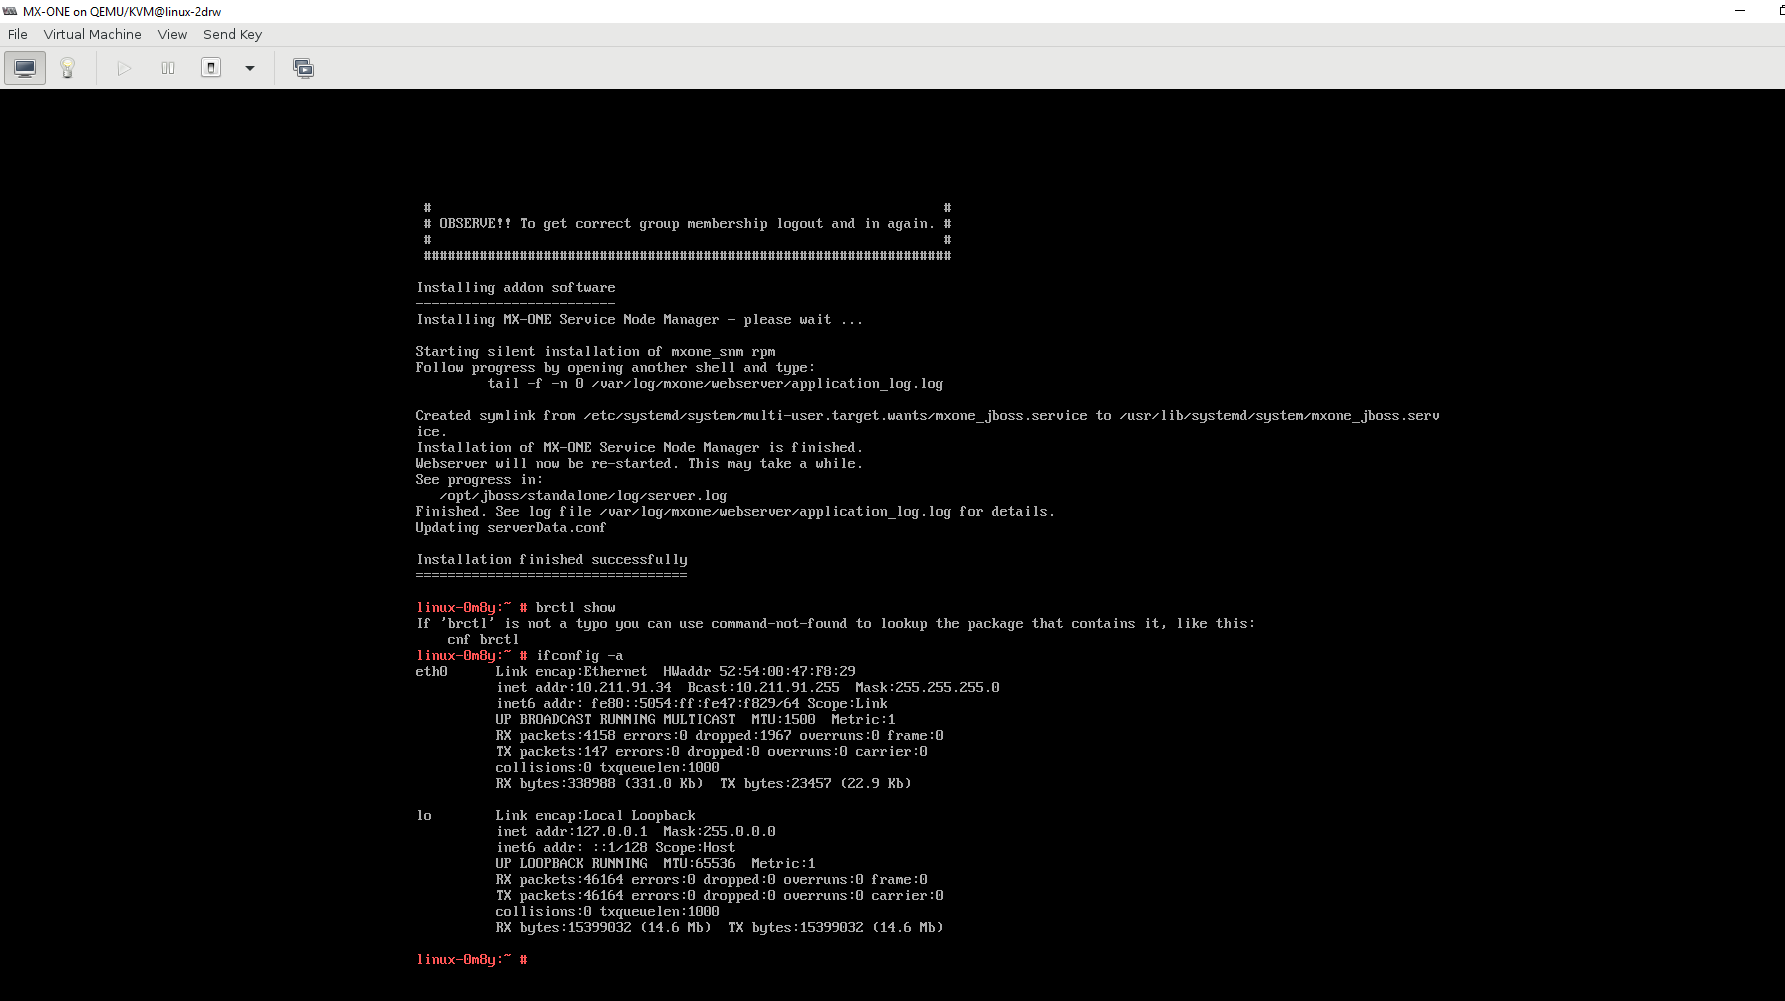
- Install the KVM image and system is restored with SuSE Linux installed.

- Enter the root login credentials.
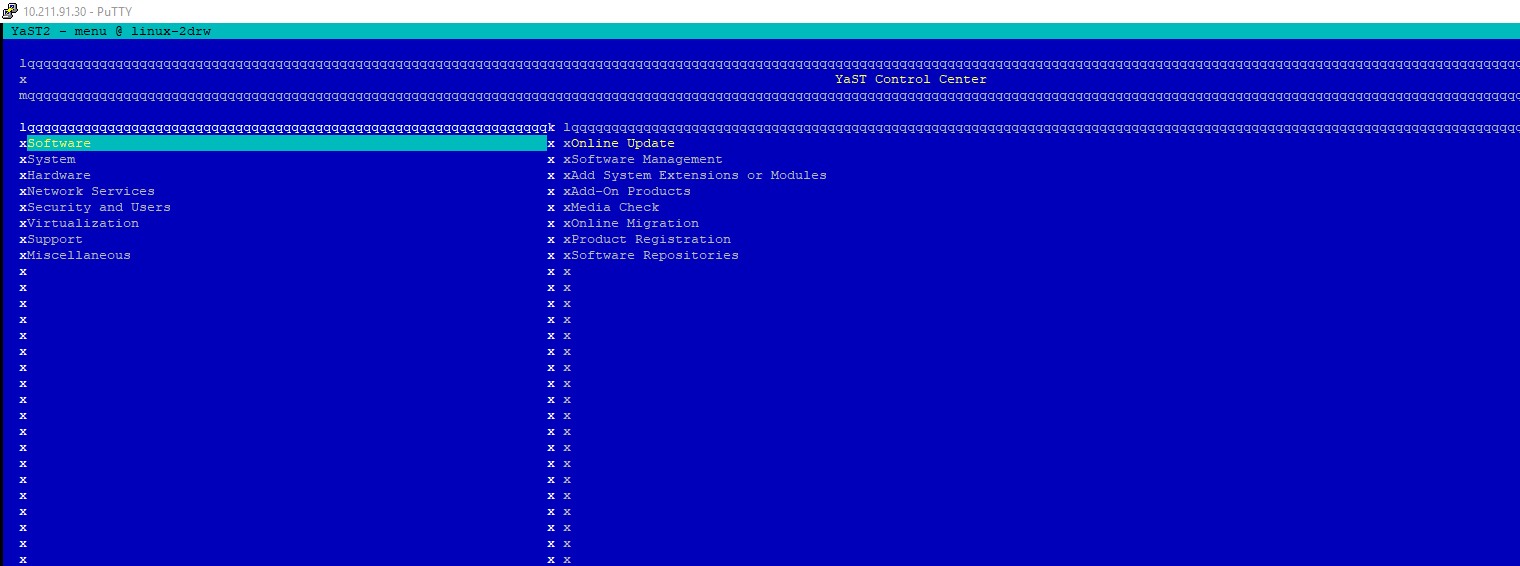
- Using the Yast utility, enter IP address, Gateway, DNS and subnet Mask to the system. For more information see, https://www.suse.com/documentation/sled11/book_sle_admin/index.html?page=/documentation/sled11/book_sle_admin/data/sec_basicnet_yast.html.
- Using the configured IP address login to the terminal using putty.
- For the installation of KVM over SuSE download the. qcow2 and .xml files from the package repository.
- Check if libvirtd is running or not, else start it: sudo systemctl status libvirtd
libvirtd.service - Virtualization daemon Loaded: loaded (/usr/lib/systemd/system/libvirtd.service; enabled; vendor preset: enabled) Active: active (running) since Mon 2019-04-08 14:38:40 CEST; 22h ago Docs: man:libvirtd(8) https://libvirt.org Main PID: 21036 (libvirtd) Tasks: 18 (limit: 32768) CGroup: /system.slice/libvirtd.service ??21036 /usr/sbin/libvirtd -listen - Create a virtual machine, enter virt-clone --original-xml Virtual_Image-MX-ONE_7.0.sp0.hf2.rc5.xml --name <your system name> --file /local/images/<your system name>.gcow2
For example,virt-clone --original-xml Virtual_Image-MX-ONE_7.1.sp0.hf0.rc26.xml --name MX-ONE --file /local/MX-ONE.qcow2
Note: Keep the qcow2 and xml under the local folder. Edit (vi) the xml file and change the default path from /kvm/images to /local where you have saved the image file. - When the kvm image installation is complete, create a network bridge and map it to the eth0 that you are using so that KVM can access it.
- To add a new network bridge device on VM Host Server with brctl, follow these steps:
- Log in as root on the VM Host Server where you want to create a new network bridge.
- Choose a name for the new bridge-VIRBR_TEST in our example- and run root # brctl addbr VIRBR_TEST.
- Check if the bridge was created on VM Host Server root # brctl show
bridge name bridge id STP enabled interfaces br0 8000.e06995ec09e8 no eth0 virbr0 8000.525400b37ec9 yes virbr0-nic virbr_test 8000.000000000000 noNote: virbr_test is listed, but not associated with any physical network interface - Add a network interface to the bridge using root # brctl addif VIRBR_TEST eth1 command.Note: Network interface must not be already in use. This is because you can only enslave a network interface that is not yet used by other network bridge.
- Optionally, enable STP using root # brctl stp VIRBR_TEST on command.
For more information, see https://www.suse.com/documentation/sles-12/book_virt/data/libvirt_networks_bridged.html.
brctl showbridge name bridge id STP enabled interfacesbr0 8000.28b9d9e09f41 no eth0 vnet0
- To start your virtual machine, install Mobaxterm (GUI or X server support). See https://mobaxterm.mobatek.net/download-home-edition.html
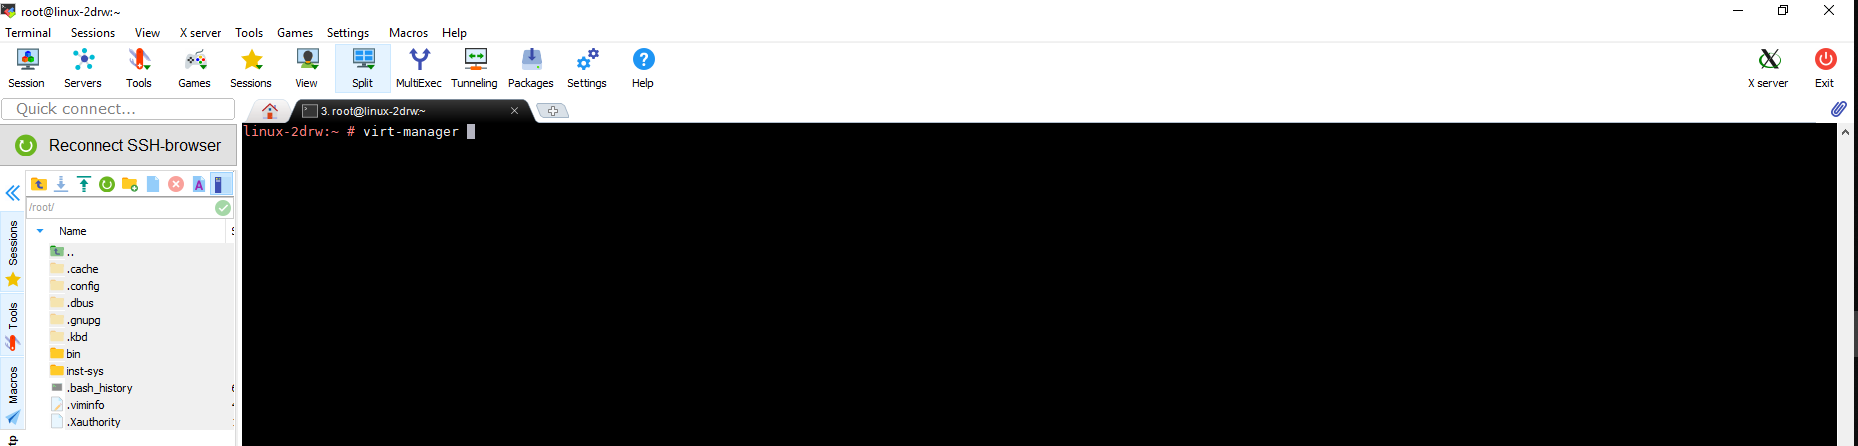
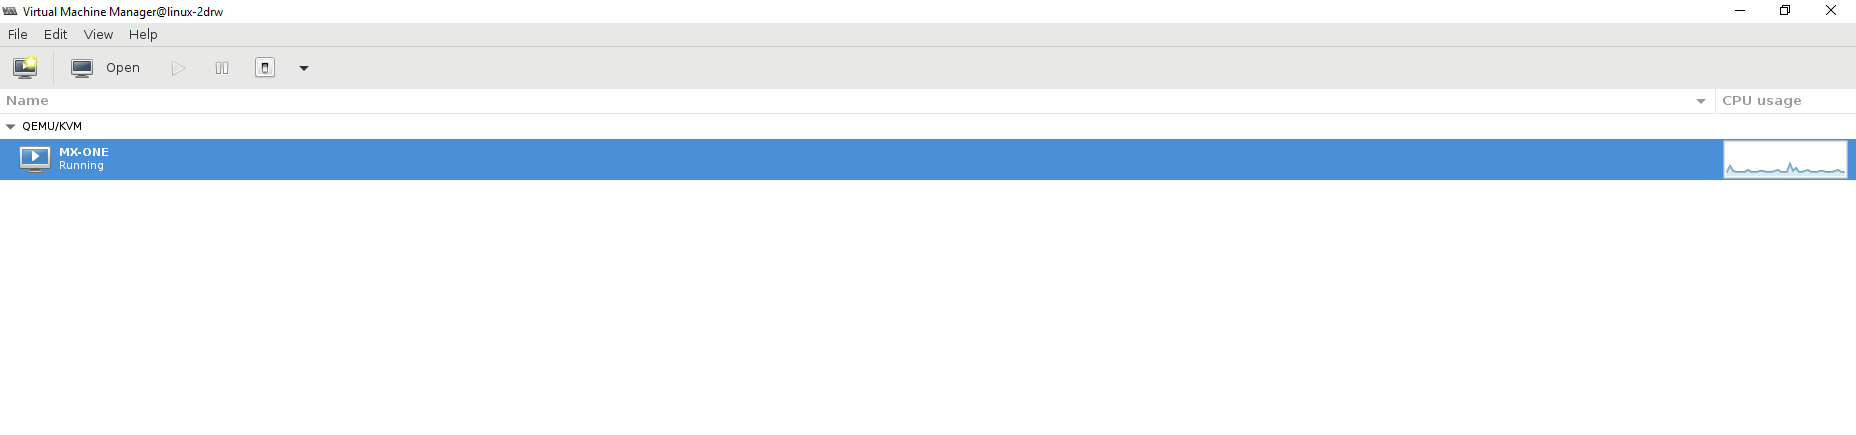
- Run KVM machine and run virt-manager on the command line. This gives you the virtual manager access through which you, start, stop, or change the MX-ONE deployed KVM and install it.
- Executables are stored in /usr/libexe.
↑