Enabling AD LDS in Windows Server
If any of the organization wants to use AD LDS as a proxy to AD Server, then they can follow this document to enable AD LDS as a proxy server.
To
enable AD LDS in Window Server, do the following:
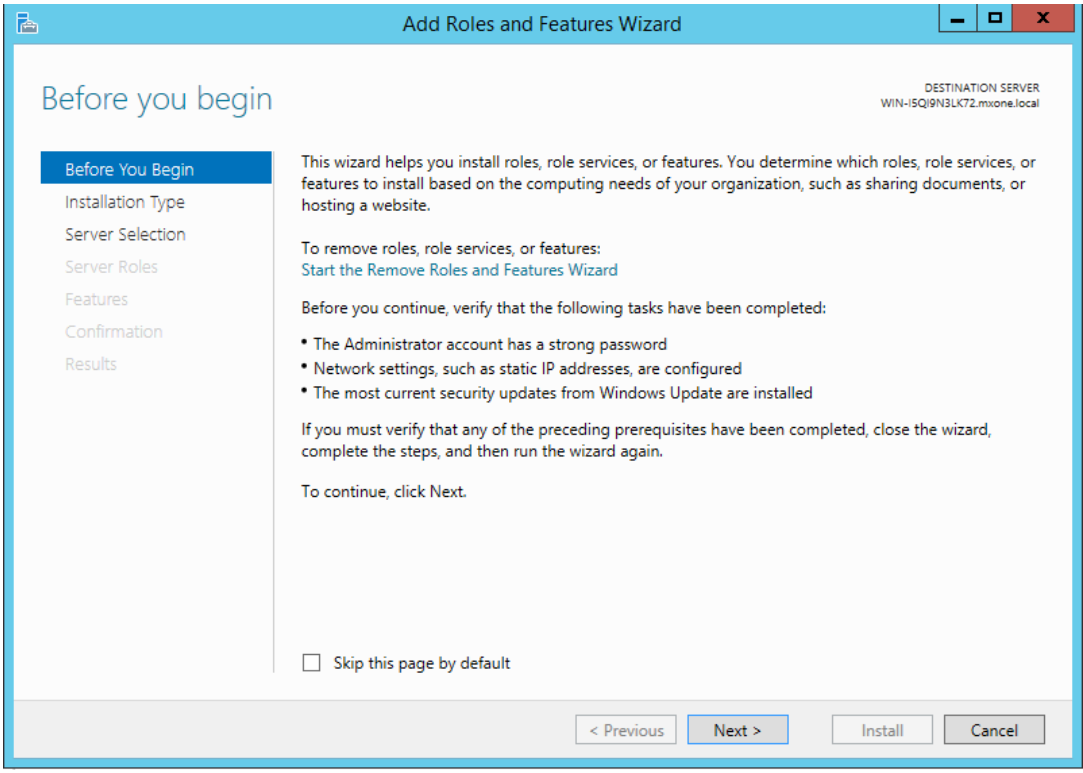
- Click Start, and then click Server Manager. You can do this from Task Bar or from Start/ Administrative Tools menu.
- Select the Server
Manager> Add Roles and Features. Click Next. The
following screen appears.
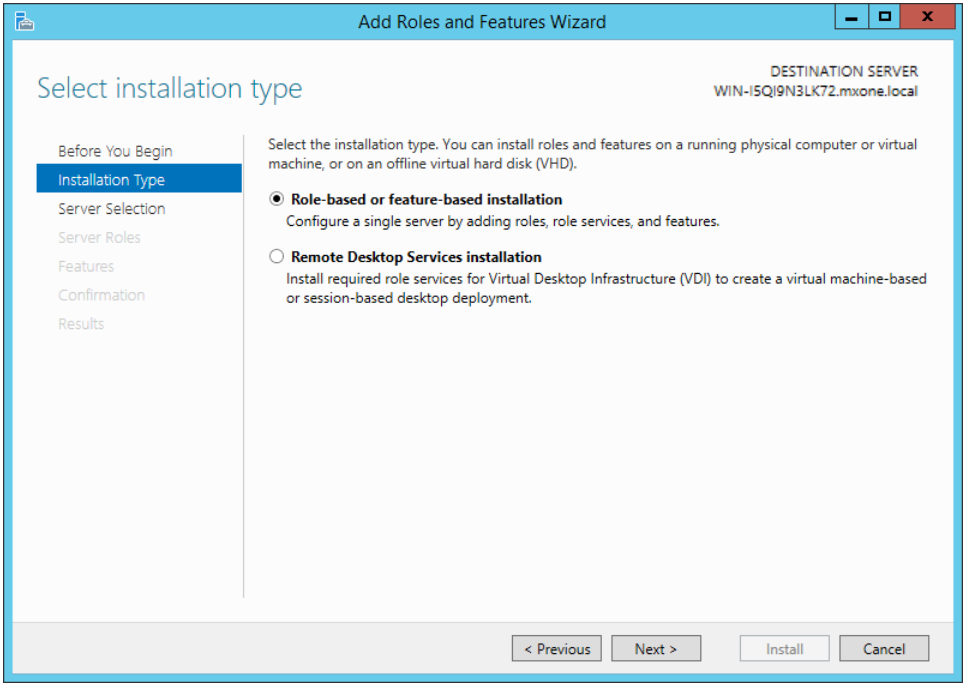
- Choose Role-based
or feature-based installation. Click Next.
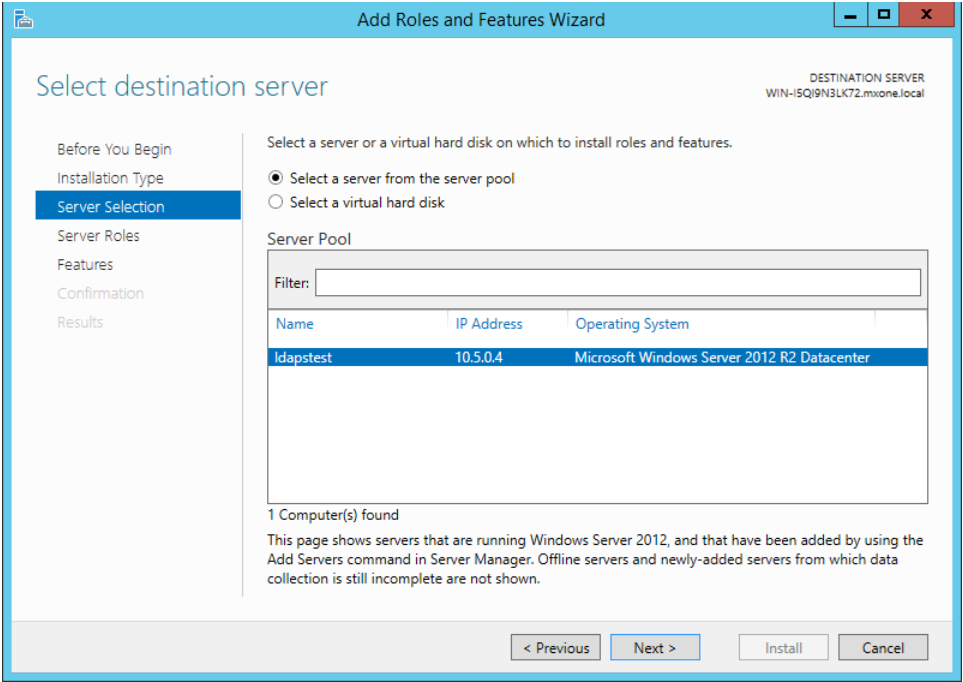
- Select ldapstest server from the server pool. Click Next
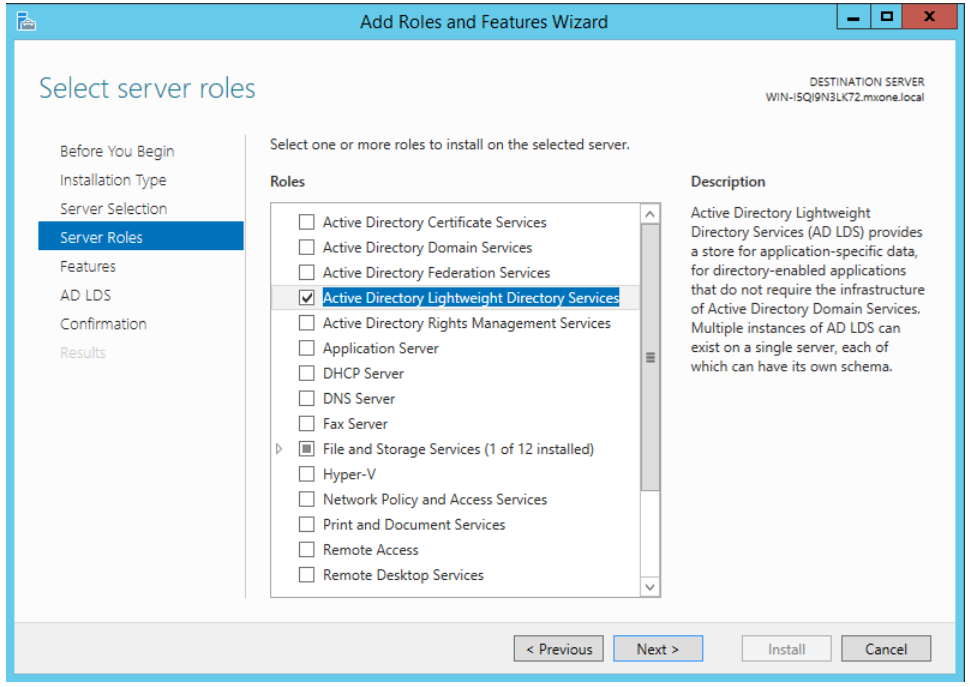
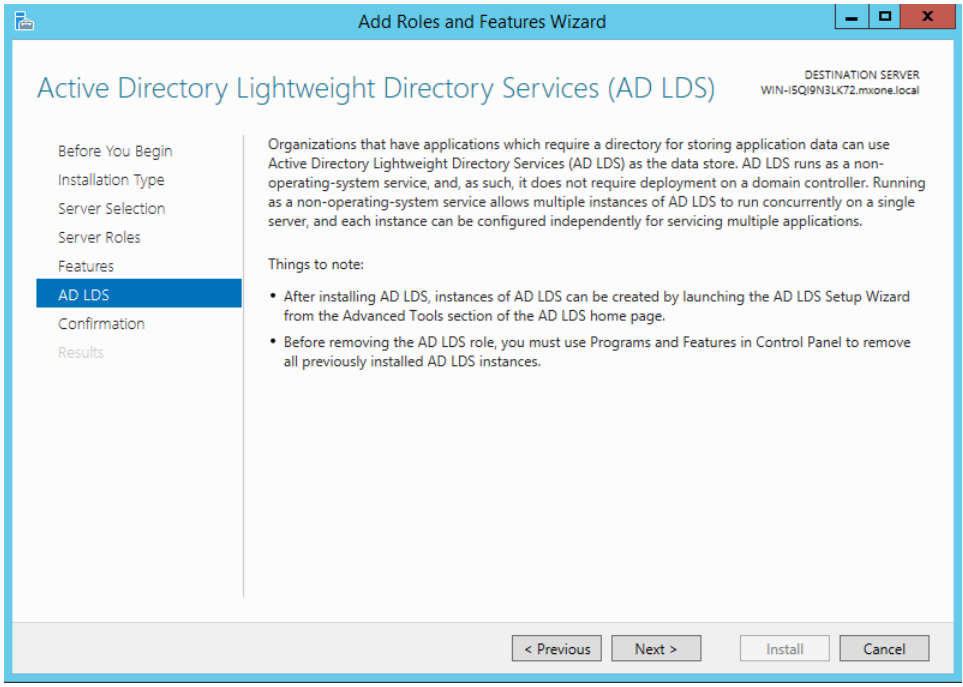
- Mark Active Directory
Lightweight Directory Services from the list of roles and click Next.
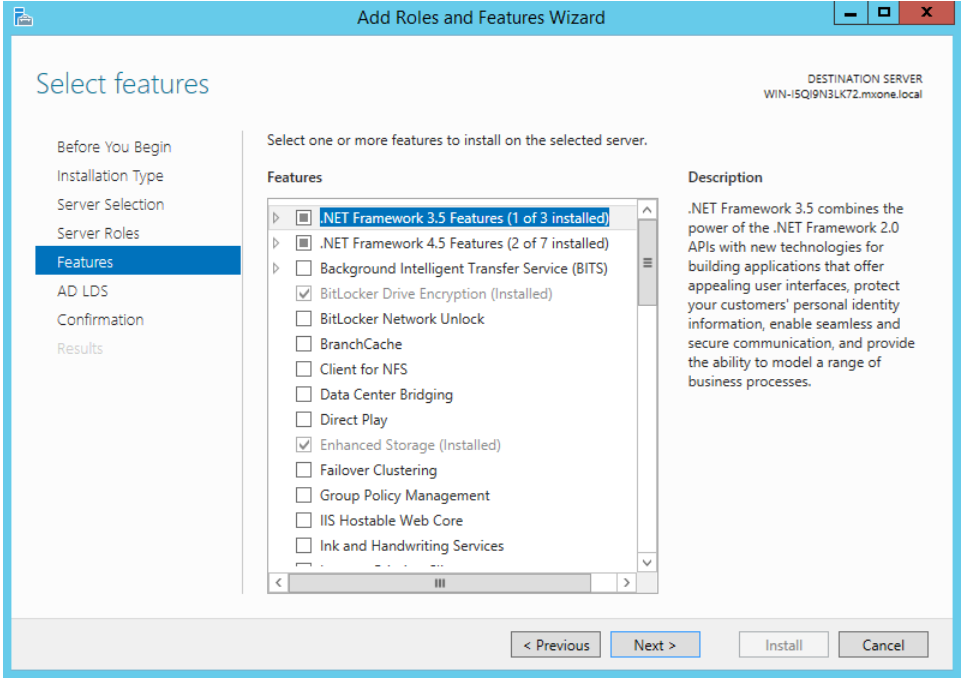
- From the list of features, choose nothing – just click Next
- click Next.
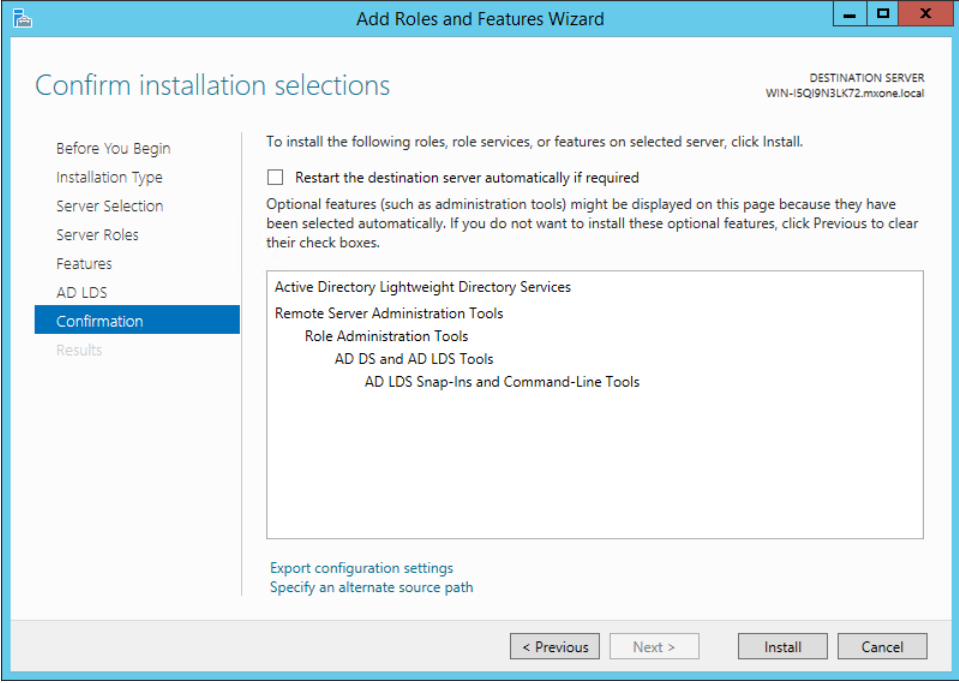
- Click Install to start installation.
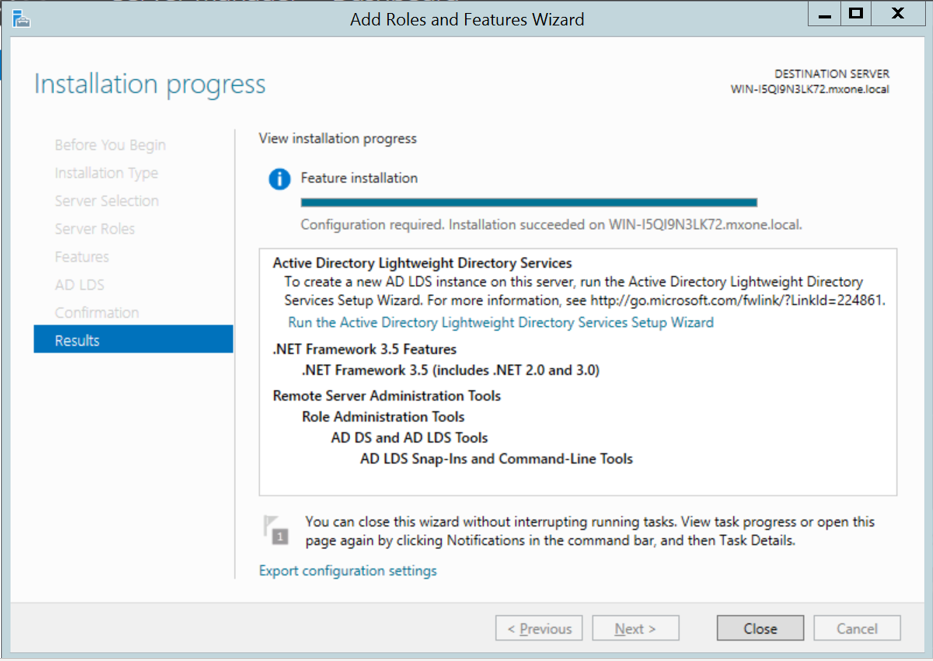
- Once installation is complete, click Close.
- Note:
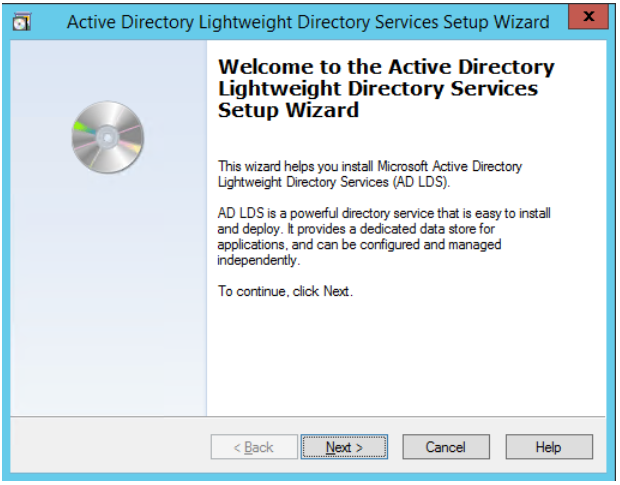
AD LDS Role is successfully set up. Create a new AD LDS Instance as “Instance1” using the wizard.
- Click the Run the Active Directory Lightweight Directory
Services Setup Wizard shown in the above screen. And then click Close.
Note:
This entire procedure implemented and documented based on Windows 2012 edition.
↑