Import of the Image to EC2
For more information on importing of the image to EC2, see Importing a VM as an image using VM Import/Export.
- Download the package aws-tools<version>.zip from the Mitel Software Download Center by searching for aws-tools.
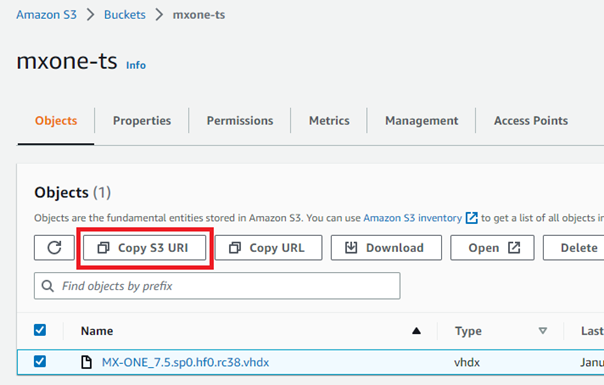
- In the AWS Management Console, select the check box next to the vhdx file you want to convert into an AMI file.
- Click the Copy S3 URI button to copy
the URI of the uploaded file.
- In the search bar of the Amazon AWS
console, search for Cloudshell and select Cloudshell from the Services
list.
The CloudShell window is launched.
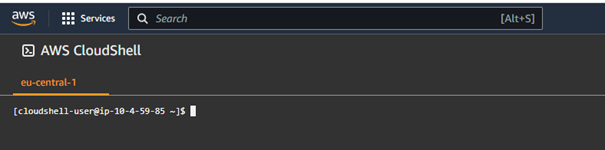 Note: CloudShell is available only in selected regions. Choose the region closest to your deployment region.
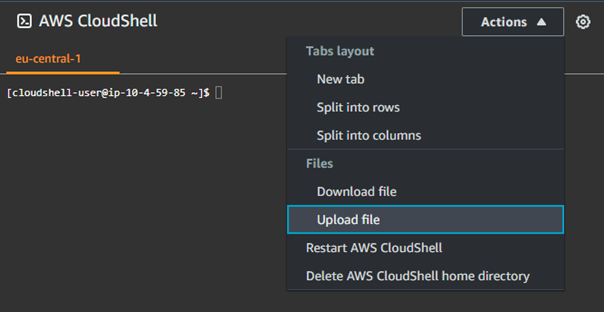
 From the Actions drop-down menu, select Upload file.
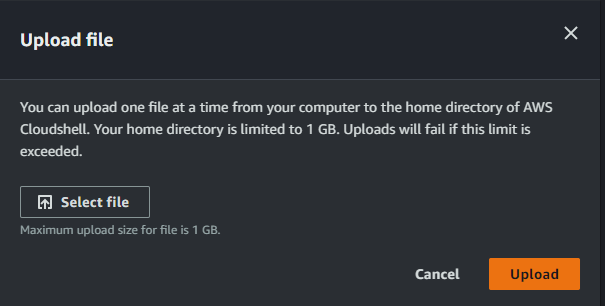
The Upload file window opens.
In the Upload file window, click Select file and browse to the folder where you downloaded the vhdtoami.sh script file.
This file is included in the aws-tools<version>.zip package you downloaded.
Select the downloaded vhdtoami.sh script file and click the Upload button.
Enter the following command and paste (right-click and paste in CloudShell) the copied S3 bucket URI:
$ sh vhdtoami.sh s3://"s3-bucket-name"/MX-ONE_xxx.vhdx
Example:
$ sh vhdtoami.sh s3://mxone-ts/MX-ONE_7.5.sp0.hf0.rc38.vhdx
The AMI conversion process starts. This process will take time (~ 18 minutes) to complete. A progress status message is displayed every 10 seconds.
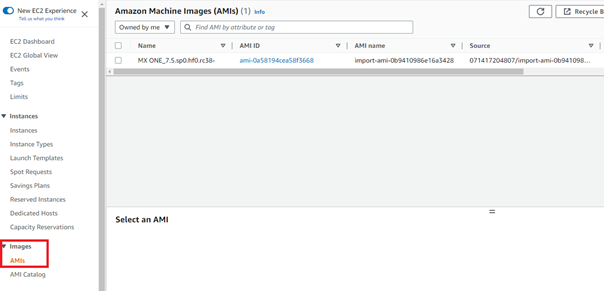
Once the conversion process is completed, the AMI is created in the same region where the S3 bucket was created. After the AMI is created, select your deployment region from the top- level bar to see the deployed AMIs in the current region.
After the import is done, a virtual machine can be created.