Installing MX-ONE on Hyper-V
The Microsoft hardware Virtualization product, Hyper-V lets you create and run a software version of a computer, called a virtual machine. Each virtual machine acts like a complete computer, running an operating system and programs. The following are the requirements of the virtual machine.
- It can be installed on Windows Server (2022 and 2019)
- It requires only a Windows license, and no specific license is required.
- Windows Server can be installed on a Dell or an HP server. It is similar to VMware in its functioning.
- It uses .iso image for installation.
To install MX-ONE on a Hyper-V setup:
Once the Windows Server get successfully installed,
- Enable Hyper-V using PowerShell.
- Open a PowerShell console as Administrator.
- Run Enable-WindowsOptionalFeature -Online -FeatureName Microsoft-Hyper-V -All command to install Hyper-V.

- Or you can open the service manager - Add role and features and install Hyper-V.


- Before you install, create a Virtual Switch Manager for Hyper-V to give network access to the virtual machines.
- Select Virtual Switch Manager from the right pane
.
- Select the type of switch, in this case, an External Switch.

- Enter a Name for your switch and click Apply.

- Your configured Network Switch is listed in the Network Connections.

- Create a virtual instance.
- Select New > Virtual Machine.

- Enter the virtual instance name and click Next.

- Specify the Generation 2 option since it has UEFI-based firmware and press Next.Note:
Select Generation 1: For MX-ONE 7.x and earlier (UEFI/Secure Boot not supported).
Select Generation 2: For MX-ONE 8.0 and later (UEFI/Secure Boot supported).

- Assign memory as per the requirement and click Next.

- Select the Network Switch which you have configured initially and click Next.

- Select Create a virtual hard disk and choose the disk size and click Next.

Select the path for the operation system installation image file.

- Review the overview information and complete the creation of the VM.

- Change system settings as follows:
- Under Secure Boot:
Select Enable Secure Boot checkbox
Select the Template as Microsoft UEFI Certificate Authority

Update the number of CPU cores as required.
Update the VLAN number (if used).
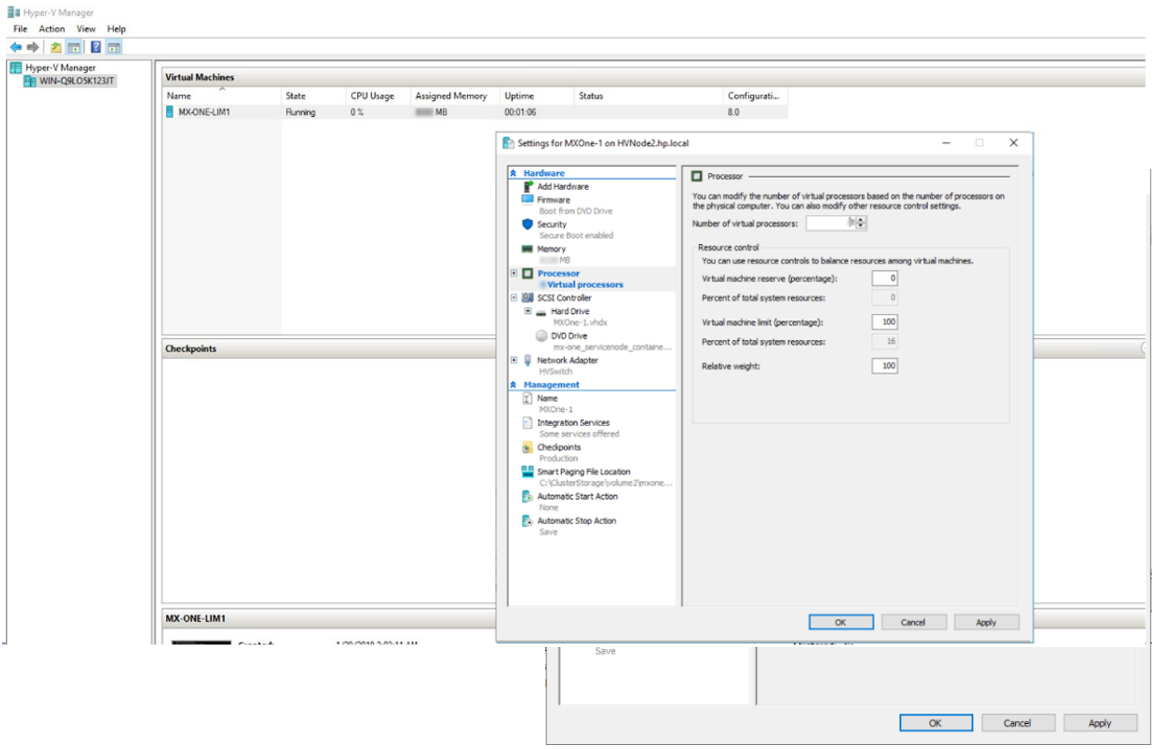
In the Management settings, select Integration Services and deselect (if selected) the Time synchronization option.
Start the machine and install MX-ONE setup as shown in the following figure.
