Initial Network Configuration
For each server run the initial network configuration. This is a preparation step where for each server, an IP address is assigned, a default gateway and system passwords.
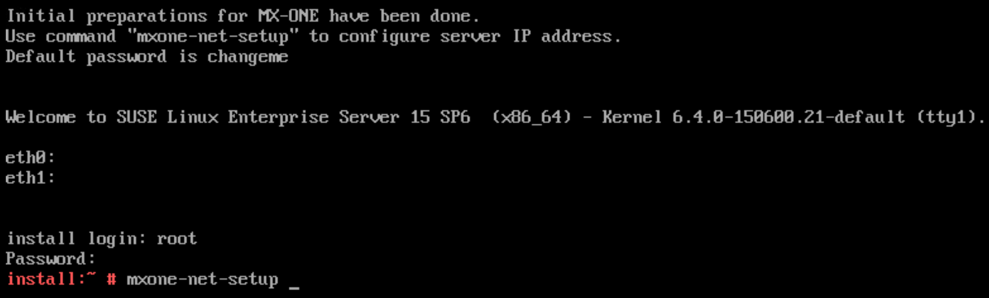
Connect to the server console - connect keyboard and monitor to real server or open console on VM.
Log in as root and run the command: mxone-net-setup
The default password is changeme.
From System Keyboard Configuration screen, select the required Keyboard Layout.
Select OK.
The Clock and Time Zone screen appears.
From the Clock and Time Zone screen, select the Region and Time Zone.
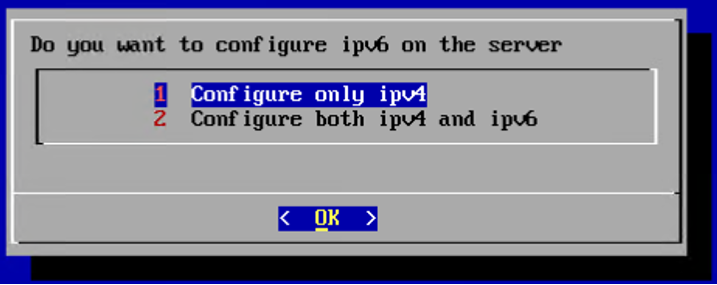
Select the type of IP stack to be used - either Configure only ipv4 or Configure both IPv4 and IPv6 (dual stack). In this example, only an IPv4 address is configured.
Click OK.
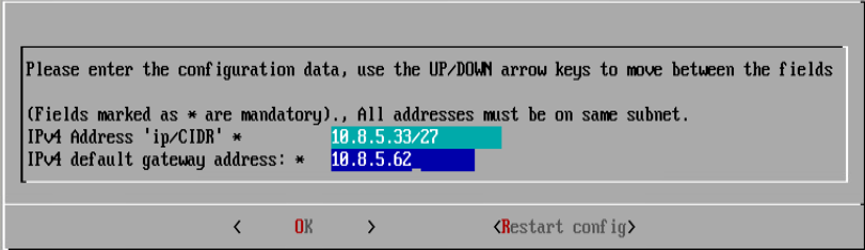
Enter the data as requested.
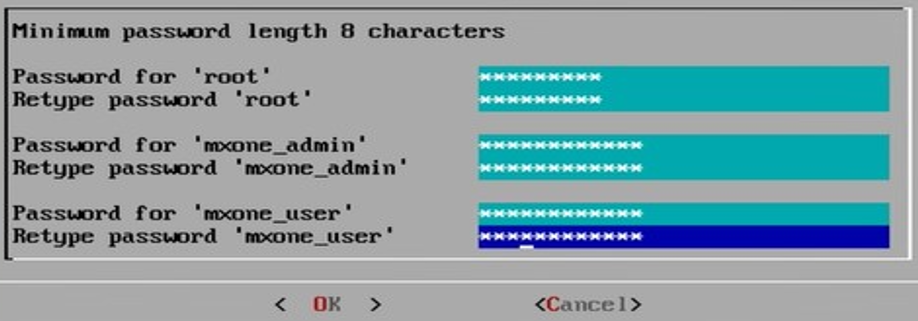
- Enter the passwords for user accounts root, mxone_admin, and mxone_user.Note:
The minimum password length is 8 characters and the character * is not allowed in a password.
A user must have the same password in all Servers.
Different users should have different passwords.
Root user requires a different password then the other users.
The basic data to continue the initial setup is now collected and the installation may start. It can be continued in the console or later after logging in through SSH.
Select Yes to finish the mxone-net-setup or select No to restart the network configuration.

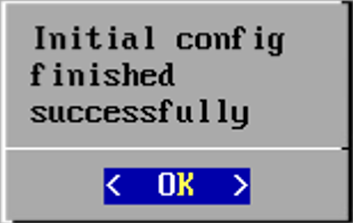
Click OK to confirm the successful configuration.