Creating AD LDS Instance
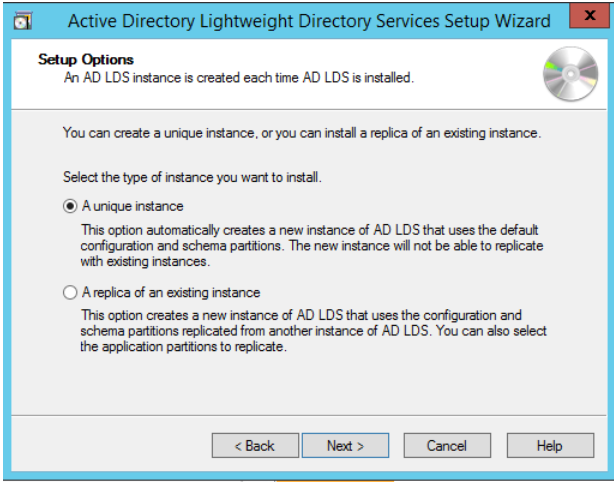
- (Continuation from Enabling AD LDS in Windows Server) On Server Manager, select A unique instance
displayed in the Setup Options. Click Next.
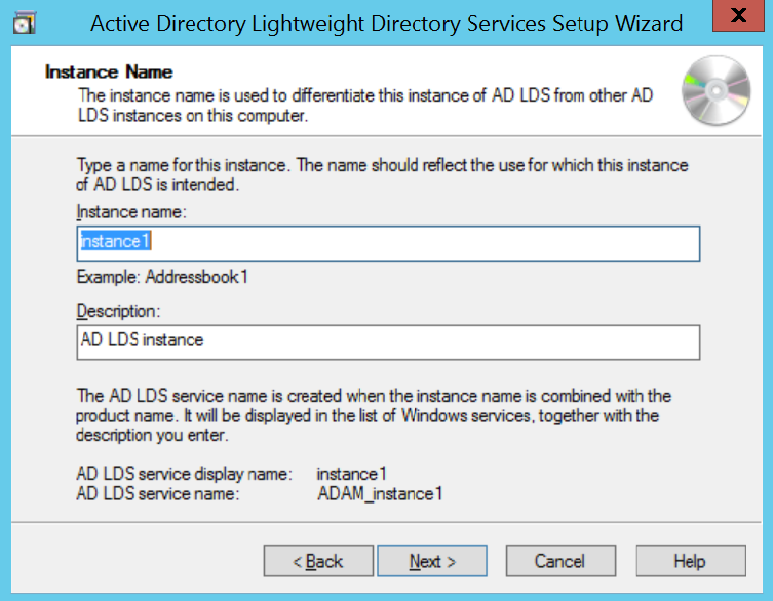
- Enter the Instance
name and Description. Click Next.
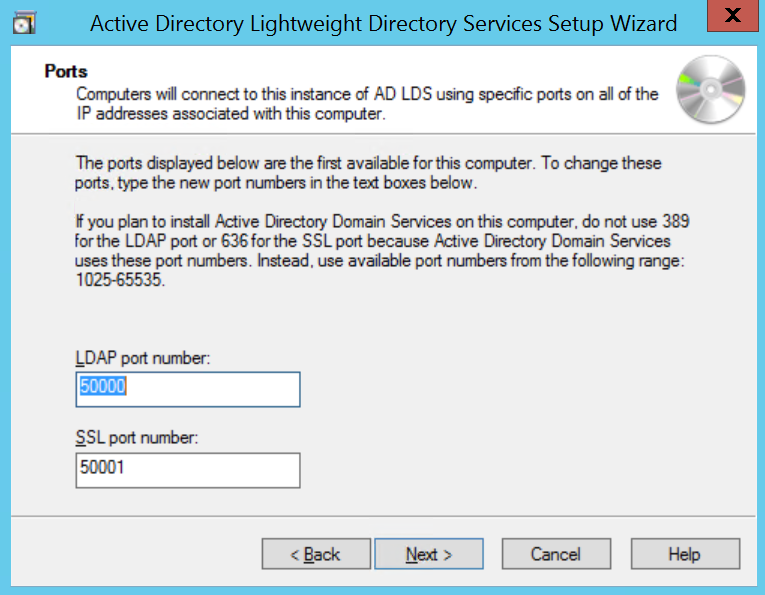
- Enter the LDAP port
number and LDAPS SSL port number that should be accessed
from other applications to AD LDS.
(Or)
Click Next and continue with default ports.Note:If you are installing AD LDS in the same server where Active Directory is installed, then it changes the port series from 50000. Otherwise, it gives default LDAP/s port such as 389, 636.
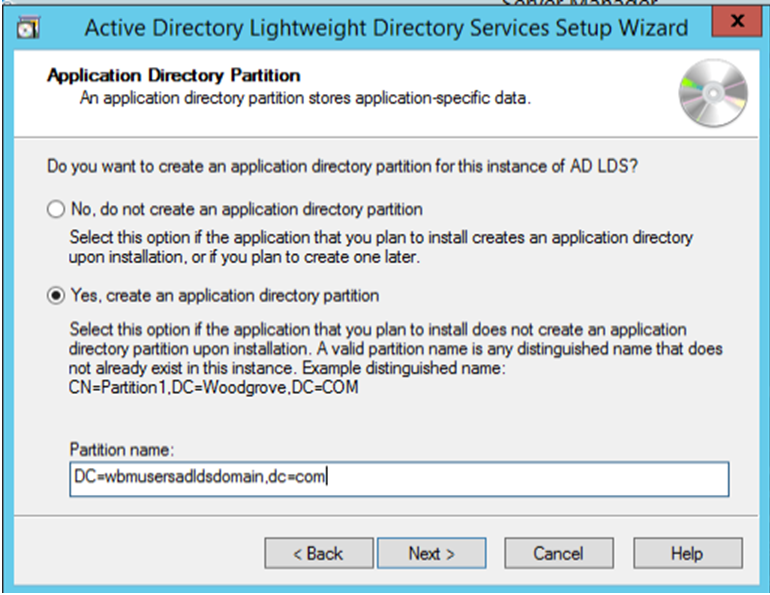
- Select Yes, create
and application directory partition and enter the Partition name.
Click Next.
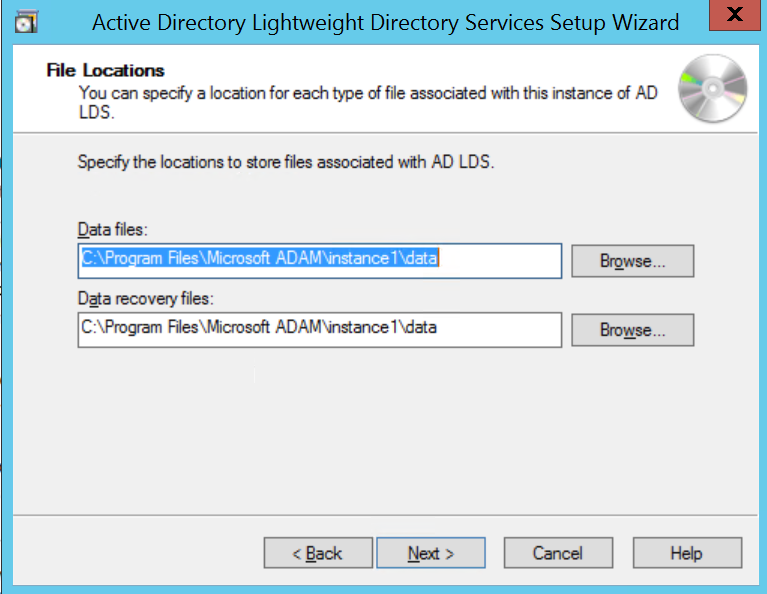
- Using the default values for storage location of ADLDS files.
Click Next.
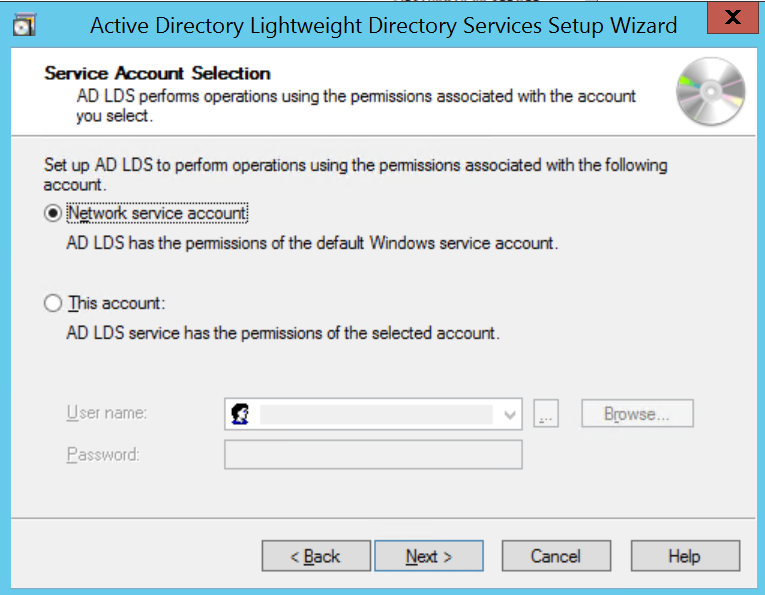
- Choose Network service account for running the AD LDS Service.
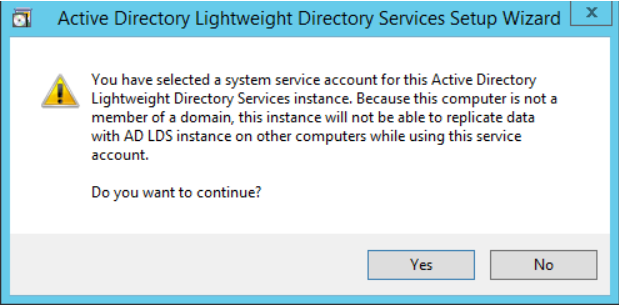
- You will receive a prompt warning about data replication. Since
you are using a single LDAP Server, click Yes.
- Select
the below 3 LDF files from the Importing LDIF Files window.
- MS-InetOrgPerson.LDF
- MS-User.LDF
- MS-UserProxyFull.LDF
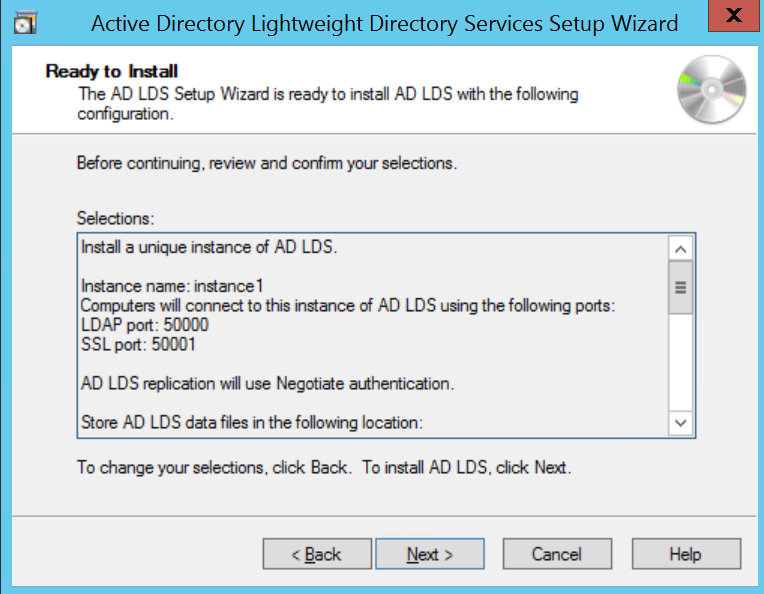
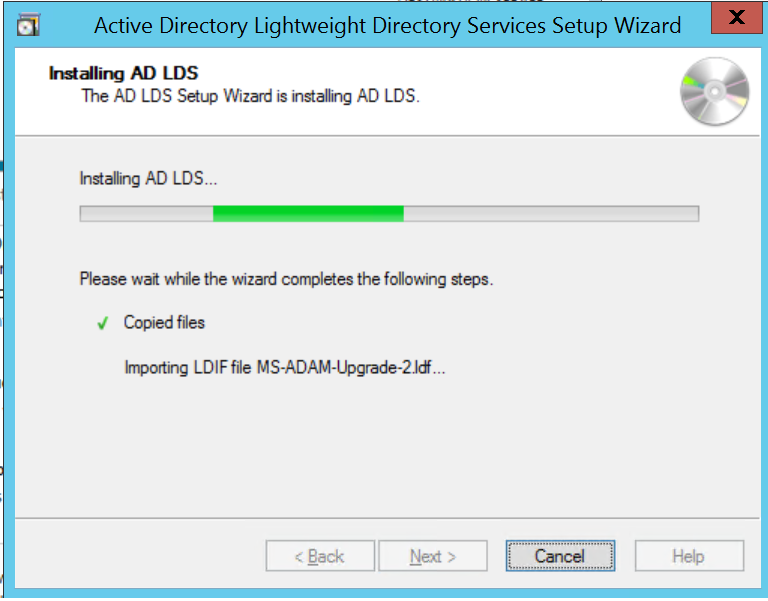
- Verify that all the selections are right and then Click Next to
confirm Installation.
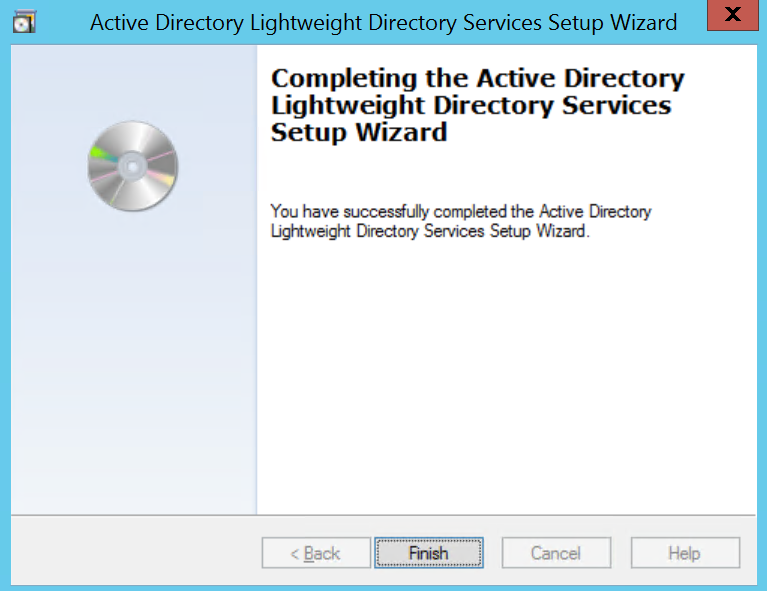
- Once the instance is setup successfully, click Finish.
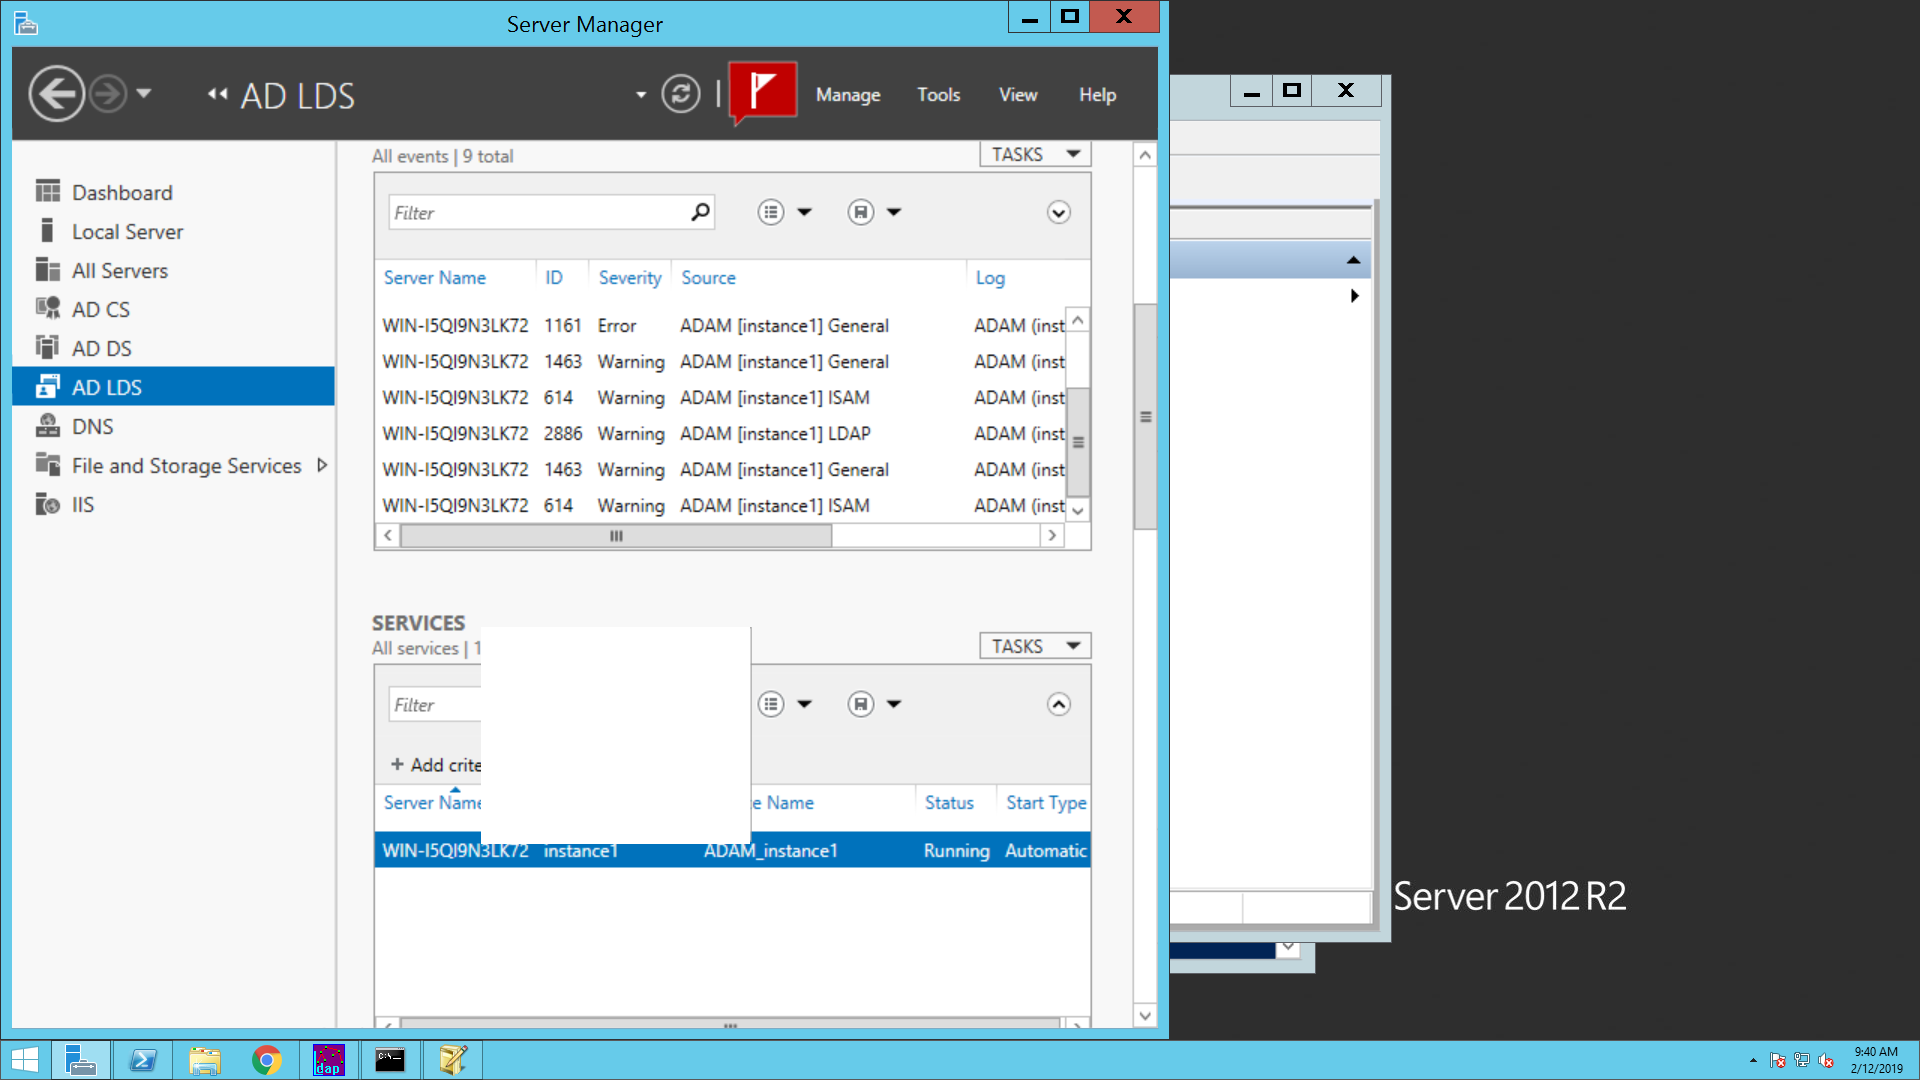
- The AD LDS Instance is
created showing the System Services under the Summary section.
↑