CloudLink Gateway Configuration
After integrating the CloudLink Gateway with the CloudLink Accounts console, you must configure the gateway and sync a PBX to pull in PBX users into the CloudLink Customer account.
- In the Account Information page, select Integrations.
A pop-up screen displays the Integrations panel.
- Click Add Gateway. The Gateway page will open.

- In the Gateway Information section of the Gateway page,
provide the following details:
- Site Name
- Complete address for the physical location of the PBX
- Click Next.
- In the Configure PBX section, provide the following details:
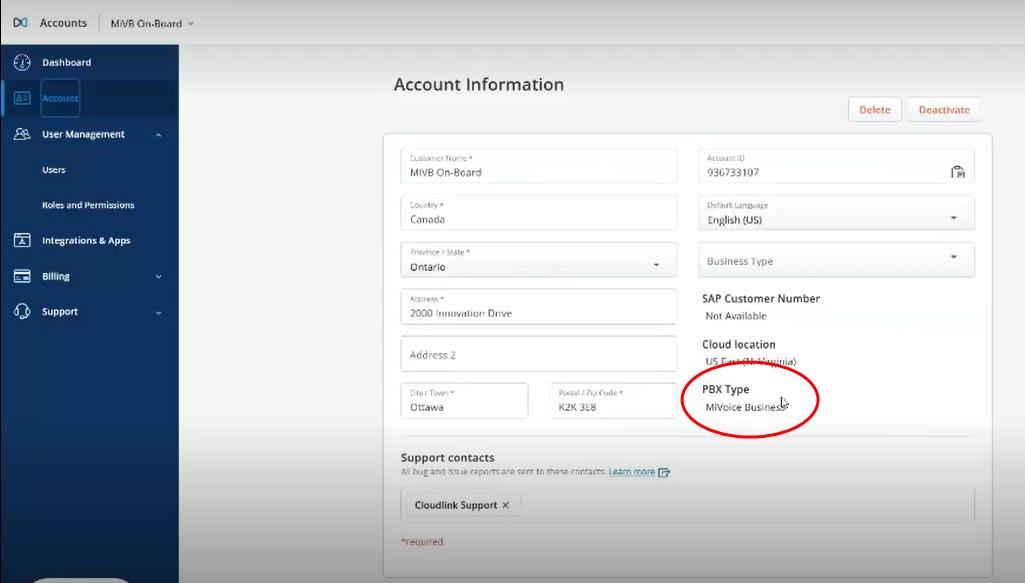
- PBX Type: MiVoice BusinessNote:
When MiVoice Business is entered as the PBX, the display will change to include MiVoice Border Gateway settings.
- PBX Name: enter a name for the PBX
- IP Address: enter the IP Address or FQDN for the PBX
- MBG IP Address or FQDN: Enter the appropriate IP address or FQDN for the MBG
- MBG Password: Enter the admin password for MBG.Note: Currently, the password can contain a maximum of 15 characters.
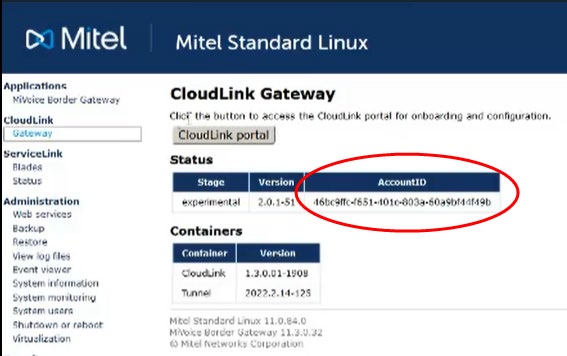
The accounts console will try to establish a connection with the CloudLink Gateway at the customer site. When a successful connection is established with the PBX, a pop-up message will be displayed indicating: Successfully created PBX link.
- PBX Type: MiVoice Business
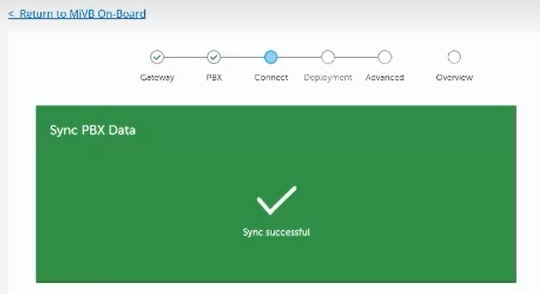
- Click Sync to synchronize PBX users with the CloudLink
Account.
A successful synchronization will result with the following display:
 Note:
Note:Do not click Sync Now after you have just connected with the PBX. A synchronization will have automatically started or may be in progress. To verify this, you can observe whether the user count is increasing for the Customer Account. A synchronization is required only if changes have been made on the PBX.
By default, synchronization occurs every 20 minutes.
- Click Next.
- (Optional ) You can use the Deployment page if you want
to deploy the CloudLink Application associated with your PBX by
sending deployment emails to the imported users so that they can
register their account and receive introductory information about
the application.
Sending deployment emails can be done any time from the Users page in Mitel Administration. To navigate to the Users page, select the Select the check box to go to the Users List page after you press the Complete button check box and click Complete.
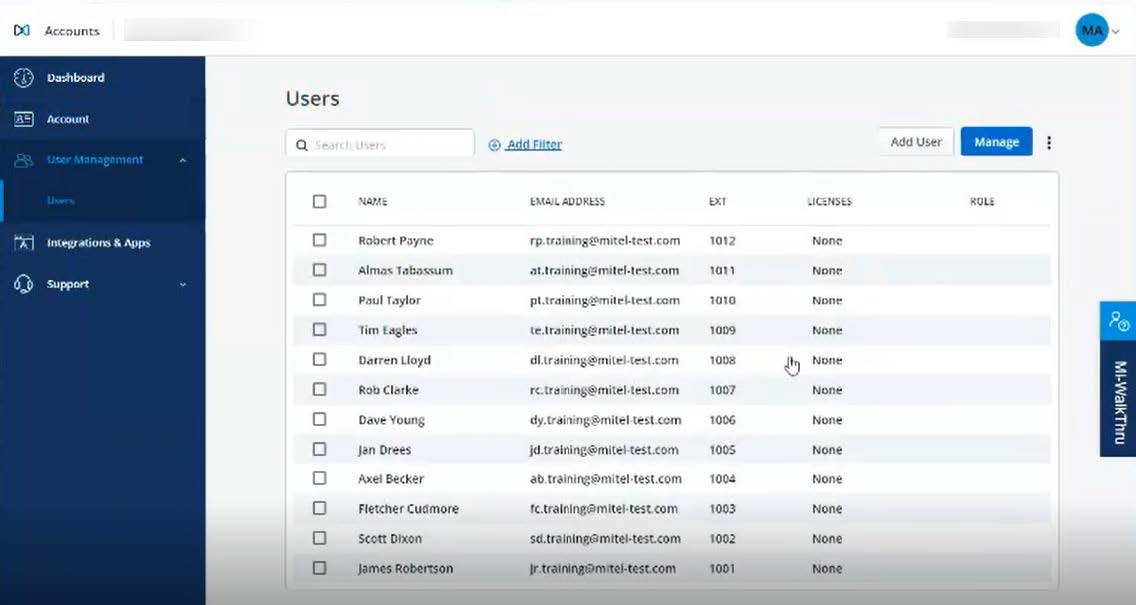
The Users page displays with a list of users that were added to the CloudLink Account.
The Cloudlink Gateway is successfully configured.
The status message under Integrations in the Account Information page will show Onboarding Complete for CloudLink Gateway.