CloudLink supports automatic provisioning of users from Azure Active Directory (Azure AD) into the CloudLink database. For this, the user data in this directory is synchronized with the CloudLink database using System for Cross-domain Identity Management (SCIM). This enables a Mitel Partner or an Account Admin to manage the users and application services in Azure AD and have them provisioned into the CloudLink database, which minimizes data entry and administration tasks.
Prerequisites
To configure provisioning of users from Azure AD into CloudLink, the Mitel Partner or Account Admin:
- Must have:
-
An Azure AD subscription
If you do not have an Azure AD environment, you can get a free account.
-
A Mitel CloudLink account.
-
- The user ID, email address, mobile number, phone number, extension number, and login ID, must be unique while importing users from Azure AD into CloudLink.
In this document, it is assumed:
- The Azure AD environment and Azure accounts setup are available.
- The administrator has good knowledge of cloud technologies, especially, Microsoft Azure.
- The Azure integration with CloudLink is approved by the customer’s IT or equivalent department.
- The connectivity between Azure and the customer premises is active and it supports real time applications, for example, the connectivity must have low latency.
- The HTTPS and SIP/TLS protocols (highly recommended) are used in the Azure setup.
- The NTP and DNS servers are configured and accessible from Azure, so the Mitel Administration can access these servers during the provisioning.
Adding Azure AD Sync integration to a customer account
Provisioning users from Azure AD into a customer account in Mitel Administration requires Azure AD Sync integration to be added to that customer account from the Mitel Administration. A Mitel Partner or an Account Admin can add Azure AD Sync integration to a customer account by using the following procedure:
- Navigate to the Account Information page of the customer account.
- In the Integrations section, click + Add new.
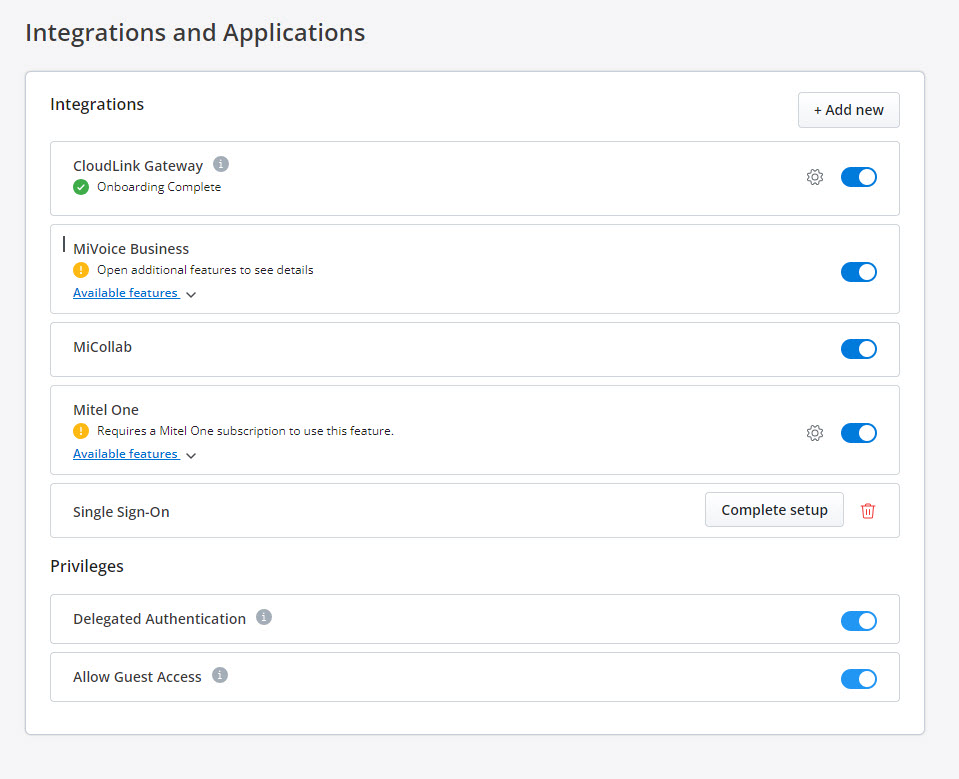
A pop-up screen displays the Integrations panel.
Note: A Mitel Partner cannot enable integrations in the Partner Account because integration with other applications is not supported for Partner Accounts. To integrate CloudLink with other applications, a Partner must create a customer account and enable integrations in that account. Mitel recommends that you disable any existing integrations in the Partner Account to avail the full functionality of CloudLink features. For more information about Partner Accounts, see Log in as a Mitel Partner. - Click the 3rd party tab. A list of third-party applications supported by CloudLink is displayed. Click the Add button associated with Azure AD Sync, and click Done.
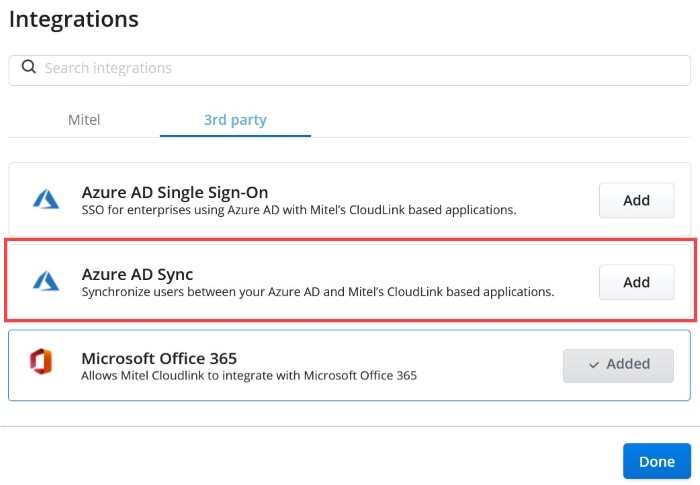
The Azure AD Sync integration is added to the customer account and is displayed in the Integrations section of the Account Information page.

Provisioning Users from Azure AD into CloudLink using SCIM
Provisioning users from the Azure AD to the CloudLink database using SCIM involves the following tasks:
- Creating a SCIM application in Azure AD — create a SCIM application to enable user provisioning.
- Adding users to the SCIM application — add users to the SCIM application.
- Configuring the SCIM application — configure the SCIM settings on the application side.
- Testing the Connection — verify that the configuration works.
- Managing the attribute mappings — review and customize the attribute mappings that will be synchronized with the CloudLink database during provisioning.
- Start Provisioning — start provisioning users to the CloudLink database.
Creating a SCIM application in Azure AD
To create a SCIM application:
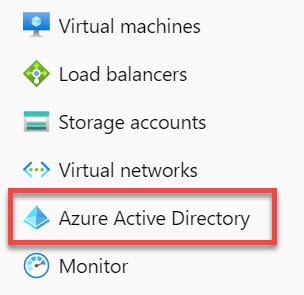
- In the Azure portal, on the left navigation panel, click Azure Active Directory. The Azure Active Directory panel opens.
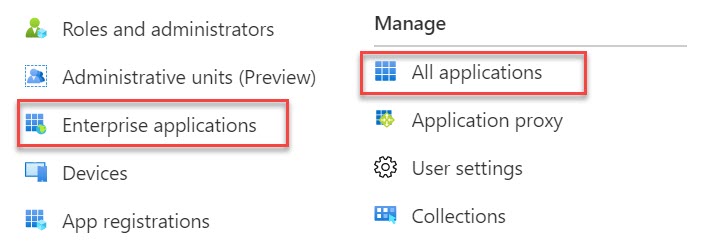
- In the Azure Active Directory panel, select Enterprise applications. The All applications page opens, displaying a list of applications in your Azure AD tenant.
- Click New application. The Browse Microsoft Entra Gallery page opens.

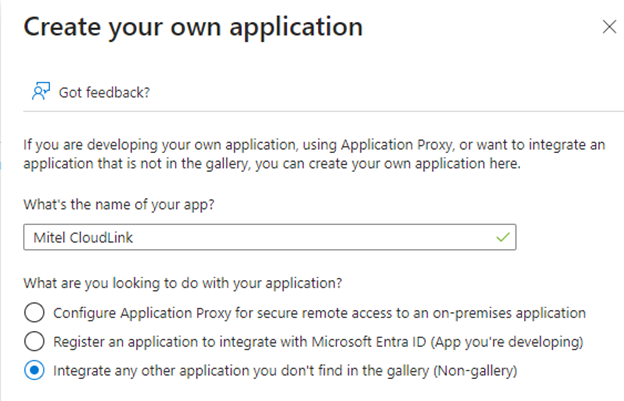
- Click + create your own application.

- Type the name for your application (for example, Mitel CloudLink), and click Add.
The application will be added to the Azure AD, and will be displayed in the All applications page.
Adding users to the SCIM application
This section describes how to add users in the Azure Active Directory to the SCIM application to be provisioned to CloudLink.
- Access the Users and groups page in the Azure portal, by doing the following:
- Navigate to Azure Active Directory > Enterprise applications, and select your application from the list. The application’s Overview page opens.
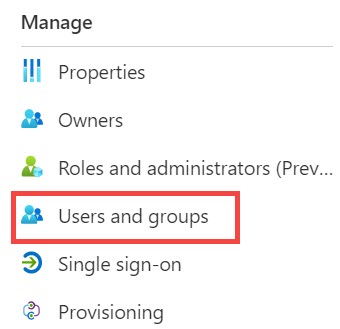
- Under the Manage section, select Users and groups.
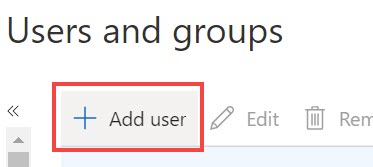
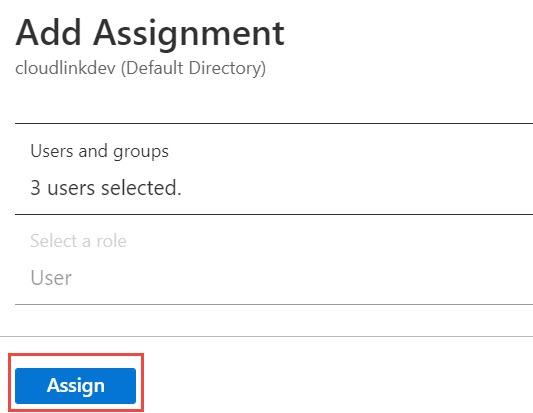
- In the Users and groups page that opens, click + Add user. The Add Assignment page opens.
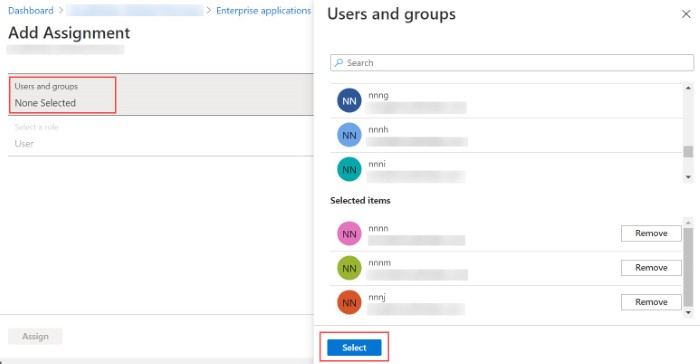
- Click the Users and groups option. The Users and groups panel opens. From the list in the Users and groups panel, click the users you want to add to the SCIM application, and click Select to select these users. The selected users are listed under Selected items.
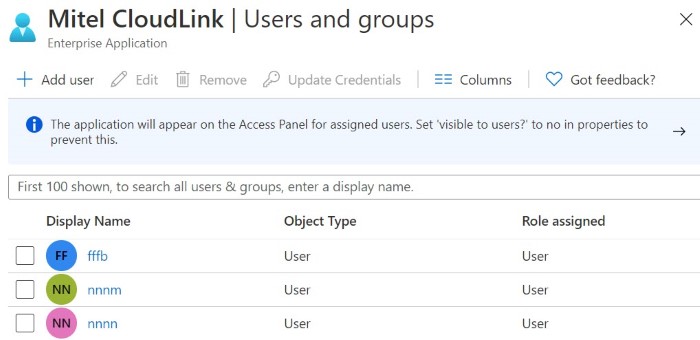
- Click Assign to add these users to the SCIM application.
These users will be displayed in the Users and groups page.
Configuring the SCIM application
This section describes how to configure the SCIM application in Azure AD with the parameters supplied by the Mitel Administration to establish connection between the SCIM application and the Mitel Administration.
To configure the SCIM application, it is recommended that you open the Azure portal and the Mitel Administration side-by-side as you will need to copy some values from the Mitel Administration to the Azure portal.
- To access the Provisioning page in the Azure portal, do the following:
- Navigate to Azure Active Directory > Enterprise applications, and select your application from the list. The application’s Overview page opens.
- Under the Manage section, select Users and groups.
- In the Provisioning page that opens, select Provisioning Mode as Automatic from the drop-down menu.
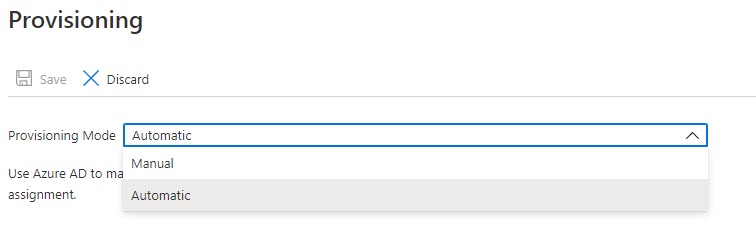
The Admin Credentials section is displayed.
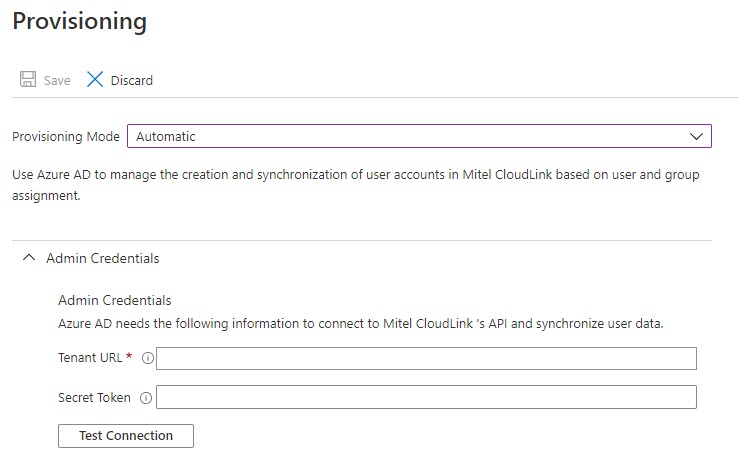
- Provide theTenant URL and the Secret Token. You can generate the URL and the token from the Mitel Administration by following these steps:
- From the Integrations section, click the Complete setup button associated with Azure AD Sync. The Azure AD Sync configuration dialog box opens.
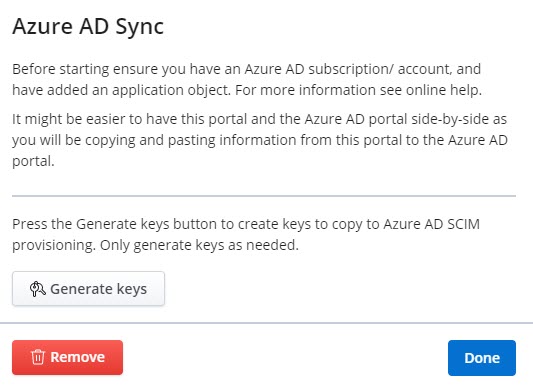
- Click Generate keys. The Tenant URL and the Secret Token are generated. Click Copy and paste these values in the respective fields in the Azure AD portal.
 Note: Every time Generate keys is clicked, any URL and token from a previous synchronization become invalid and the SCIM application must be configured with new ones.
- From the Integrations section, click the Complete setup button associated with Azure AD Sync. The Azure AD Sync configuration dialog box opens.
Testing the Connection
This section describes how to verify whether the configuration works, and to check whether the connection between the SCIM application and CloudLink is successful.
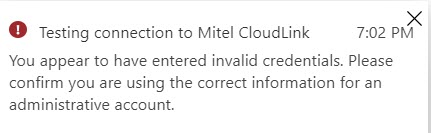
- In the Provisioning page, within the Admin Credentials section, click Test Connection. The SCIM application attempts to connect to CloudLink.
If the connection is successful, the following message is displayed.

If the connection fails, the following error message is displayed. Rectify the error and test the connection again.
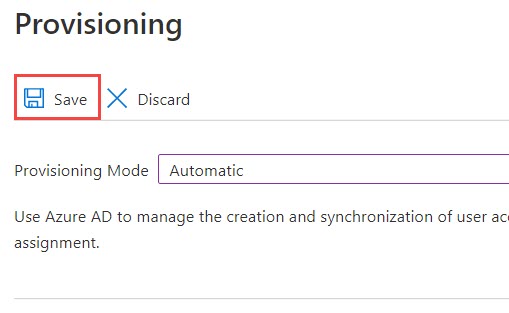
- If the connection is successful, click Save to save the admin credentials for user provisioning. Clicking Discard will cancel the changes.
Managing the attribute mappings
This section describes how to customize the default attribute mappings in the SCIM application that define which user properties are provisioned from Azure AD to the CloudLink database. You can change or delete the current attribute-mappings, or create new attribute-mappings. To do this:
- In the Provisioning page, click Edit attribute mappings from the Manage provisioning section.

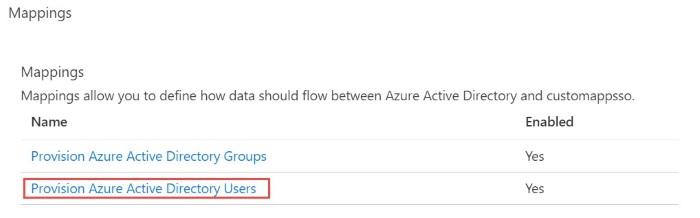
- In the page that opens, expand the Mappings tab, and do the following:
- Disable Groups mapping: You must disable the provisioning of group objects between the Azure AD and the CloudLink database. This is required because CloudLink database does not support provisioning group objects. To do this:
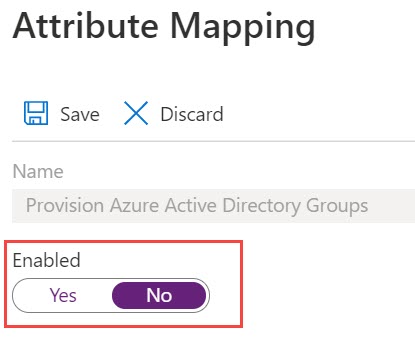
- Click Provision Azure Active Directory Groups.

- In the Attribute Mapping page that opens, disable the Enabled option by clicking No. Click Save to save the changes. Note: By default, the Enabled option will be set to Yes.
- Click Provision Azure Active Directory Groups.
- Customize attributes : You must customize the attributes to be provisioned between Azure AD and the CloudLink database. To do this:
- Click Provision Azure Active Directory Users.
The Attribute Mapping page opens, displaying the list of default attributes in Azure AD.
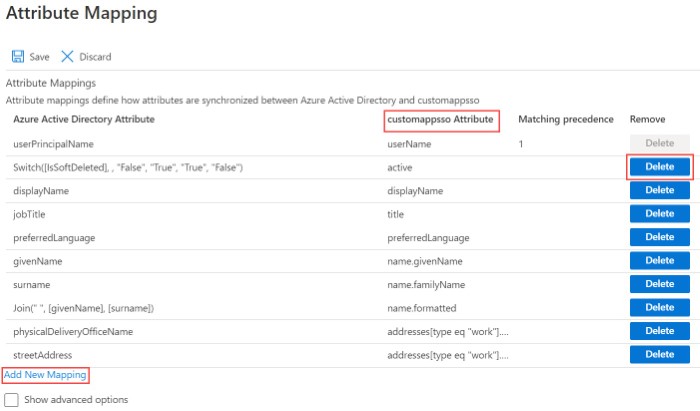
- You can choose to retain the default attribute mappings to be provisioned to the CloudLink database. You can also add new attribute mappings by clicking Add New Mapping. To delete a default attribute mapping, click the Delete option associated with the attribute.
You must ensure that the following conditions are met when you review the attributes to be provisioned between Azure AD and the CloudLink database.
- The following attributes listed under customappsso Attribute are mandatory and must not be deleted.
- userName
- one among displayName, name.givenName, or name.familyName
- emails[type eq "work"].value
- CloudLink requires valid users to have an email address. To facilitate this requirement during provisioning, you must make sure that the attribute type emails[type eq "work"].value under customappsso Attribute is mapped to the attribute type under Azure Active Directory Attribute that contains the user’s email address in Azure directory.
- In addition to the mandatory attributes mentioned above, CloudLink supports the following attributes listed under customappsso Attribute. You must select only the following attributes.
- active
- externalId
- emails[type eq "other"].value
- phoneNumbers[type eq "mobile"].value
- phoneNumbers[type eq "work"].value
- phoneNumbers[type eq "other"].value
- roles[primary eq "True"].value
- all attributes related to addresses, MiCollab supports only the attributes related to the "work" type addresses.
Note:- In Azure AD, if you clear or leave blank any of the user details fields that is mapped to an attribute, the field will not be provisioned because Azure AD provisioning service does not support provisioning null values. For more information about attribute mapping properties, see Azure documentation.
- If you remove any attribute mapping in the Azure AD after you start provisioning, the modification will not be updated in the CloudLink database automatically.
-
The Phone numbers must be in E164 format.
- The following attributes listed under customappsso Attribute are mandatory and must not be deleted.
- After you customize the necessary attribute mappings, click Save to save the changes. Clicking Discard will cancel the changes.
- Click Provision Azure Active Directory Users.
- Disable Groups mapping: You must disable the provisioning of group objects between the Azure AD and the CloudLink database. This is required because CloudLink database does not support provisioning group objects. To do this:
Start Provisioning
After you define the attributes, you must initiate the provisioning. To do this:
- Access the Provisioning page in the Azure portal, by doing the following:
- Navigate to Azure Active Directory > Enterprise applications, and select your application from the list. The application’s Overview page opens.
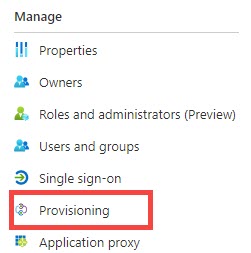
- Under the Manage section, select Provisioning.
- In the Provisioning page that opens, click Start provisioning.
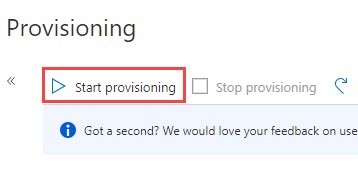
The Azure AD provisioning service runs an initial provisioning cycle. After the cycle is complete, the status of the cycle will be displayed in the Provisioning page as shown in the following screenshot.
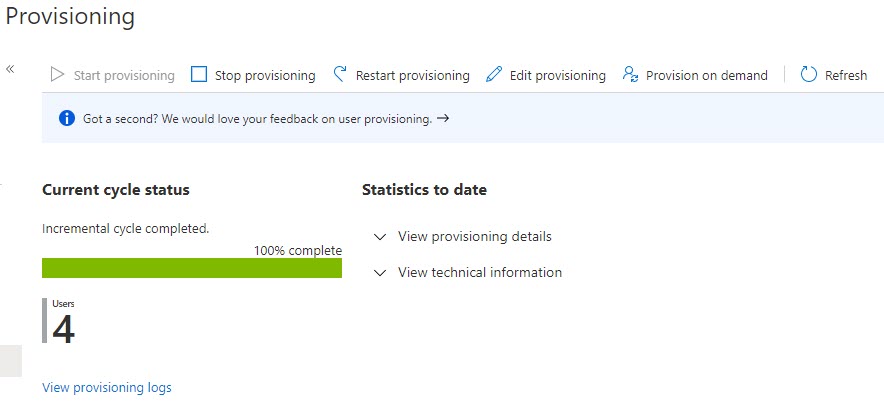
The Current cycle status shows the completion status. This section also displays the number of users provisioned.
The initial provisioning cycle is followed by periodic incremental cycles. The incremental cycles happen every 40 minutes. For more information about provisioning cycles, see the Azure documentation.
Note: If errors occur during a provisioning cycle, the synchronization is retried in the next cycle. If the errors continue to occur, then the retries will occur at a reduced frequency, that is, the frequency of scheduled provisioning will decrease. For more information, see the Azure documentation.
After the initial cycle is completed, you have the following options to manage the provisioning:
- Stop provisioning: Click this option to stop the provisioning process.
- Restart provisioning: Click this option to trigger the provisioning run manually without waiting for the next scheduled run.
- Edit provisioning: Click this option to edit the current configuration or to customize the attribute mappings.
- Provision on demand: Click this option to provision any changes to a single user. This is done manually. You can also use this option to validate and verify that the changes made to the configuration were applied properly and are being correctly synchronized with the CloudLink database.
Deleting a User with Phone Conflict
This feature allows administrators to search for users with phone number conflicts and delete them, including both active and inactive users.
- Navigate to the Users page.Note: For accounts with AD Sync integration, a link—'Click here if you have an AD Sync phone number conflict'—appears at the top of the Users page.
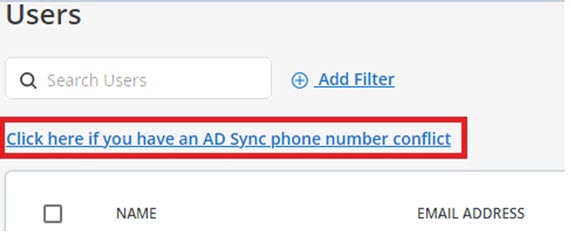
- Select the Click here if you have an AD Sync phone number conflict
link.
The Phone Number Conflict Search dialog box appears.
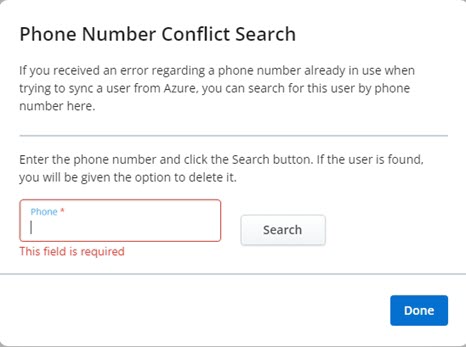
- Enter the phone number in the search box.
- Click Search.
The user appears at the bottom of the search box.
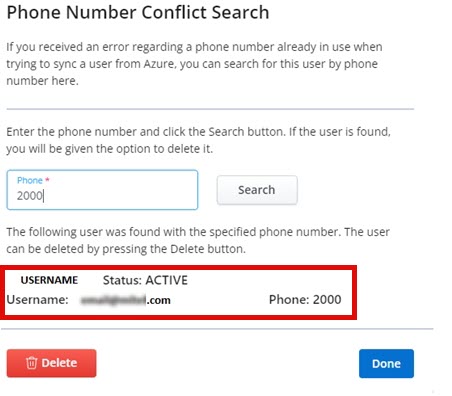
- Verify the user.
- Click Delete to remove the user.