Meetings Add-In (Web and Desktop)
The Meetings add-in allows you to schedule a Mitel One meeting from your Outlook application. The add-in enables you to add a Mitel One meeting to any new or existing event in your calendar.
- The add-in does not support Delegate Access. The add-in is disabled for Delegates.
- The add-in cannot be used for scheduling meetings from a shared calendar. For more information, refer to the section Office add-ins aren't available from a shared calendar in the Microsoft support documentation.
Supported Outlook Clients
- Office 365 on Windows and Mac
- Outlook 2019 on Windows and Mac
- Outlook 2016 on Windows
- Outlook 2013 on Windows
- Outlook Web App for Office 365
- Outlook Web App for Exchange 2016
- Outlook Web App for Exchange 2019
Installing the add-in
- Outlook Web Application for Office 365
You can install the Meetings add-in by performing the following steps:
- Open the Outlook web application and switch to calendar view.
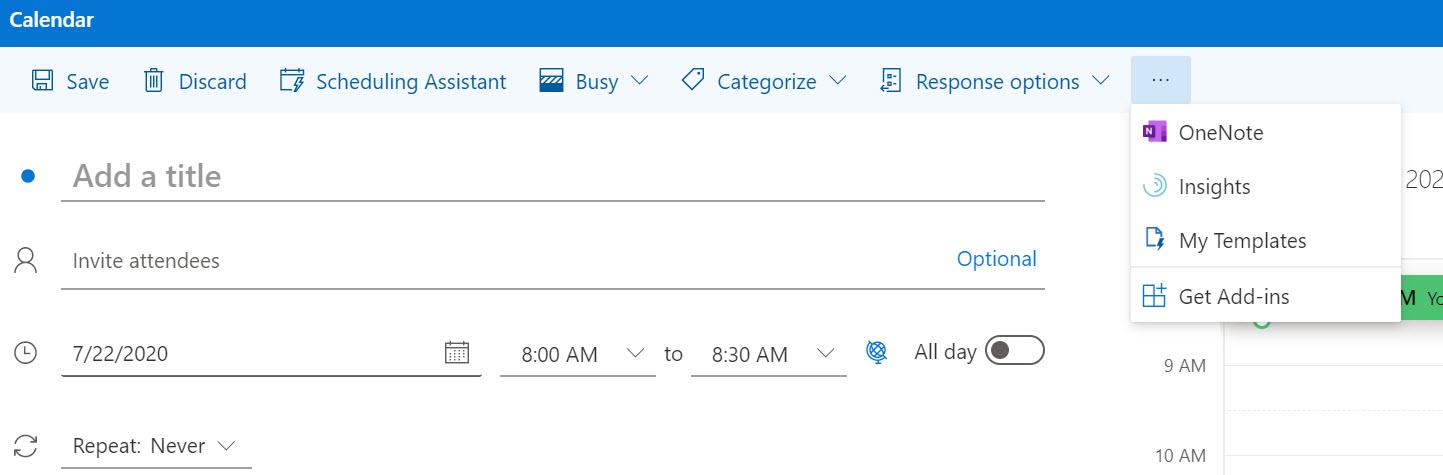
- Click New event. The Calendar panel opens.
- Click
 and from the panel that opens, click Get Add-ins.
- In the Add-Ins for Outlook panel that opens, type Meetings in the Search field.
- From the result panel, select Meetings. The add-in information panel opens.
- Click Add. Meetings will be added as an add-in to your Outlook Web Application.
- Outlook Web Application for Exchange 2016/2019
You can install the Meetings add-in by performing the following steps:
- Open the Outlook web application and select
 > Manage add-ins from the top right of the web application window.
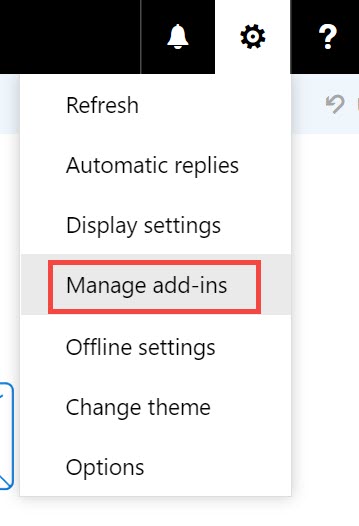
- In the Manage add-ins panel that opens, click the + sign, and select Add from the Office Store from the drop-down list that appears. You can also click the URL Find more add-ins from Outlook at the Office Store to access the Office Store.

- In the Microsoft Apps store that opens, type Meetings in the Search field.
- From the result panel, select Meetings and click GET IT NOW. The add-in information panel opens.
- Click Install. Meetings will be added as an add-in to your Outlook Web Application.
- Open the Outlook web application and select
- Outlook 2016 application on Desktop and Outlook 2019/Office 365 application on Desktop/MAC
You can install the Meetings add-in by performing the following steps:
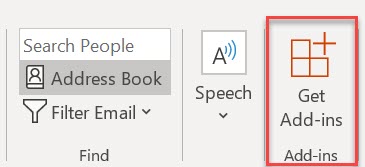
- Open the Outlook Desktop/MAC application and click Home > Get Add-ins on the ribbon.
 Note: For Outlook 2019 on MAC devices, click Home > Store on the ribbon.
 - In the Add-Ins for Outlook panel that opens, type Meetings in the Search field.
- From the result panel, select Meetings. The add-in information panel opens.
- Click Add. Meetings will be added as an add-in to your Outlook Web Application.
- Open the Outlook Desktop/MAC application and click Home > Get Add-ins on the ribbon.
- Outlook 2013 application on Desktop
You can install the Meetings add-in by performing the following steps:
- Open the Outlook Desktop application and click File > Manage Add-ins. The Outlook Web Application opens. Enter your credentials and log in to the application.
- In the Manage add-ins panel that opens, click the + sign, and select Add from the Office Store from the drop-down that appears. You can also click the URL Find more apps for Outlook at the Office Store to access the Office Store.
- In the Microsoft Apps store that opens, type Meetings in the Search field.
- From the result panel, select Meetings and click GET IT NOW. The add-in information panel opens.
- Click Install. Meetings will be added as an add-in to your Outlook Web Application.
Signing in to your MiTeam Meetings Account from Outlook
After installing the Meetings add-in on your Outlook, you must sign in to your Mitel One account before scheduling a meeting. This is done from the Meetings task panel in Outlook.
- Access the Meetings task panel by performing the following steps:
- Outlook Web application for Office 365
- Open the Outlook web application and switch to calendar view.
- Click New event. The Calendar panel opens.
- Click and from the panel that opens, click Meetings. The Meetings task panel opens to the right of the Calendar panel.
- Outlook Web application for Exchange 2016/2019
- Open the Outlook web application and switch to calendar view.
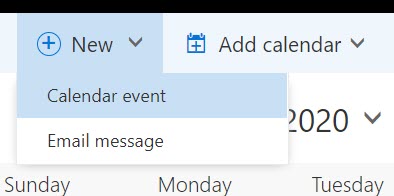
- Click New > Calendar event. The Details panel opens.
- Click the
 icon at the top of the panel.
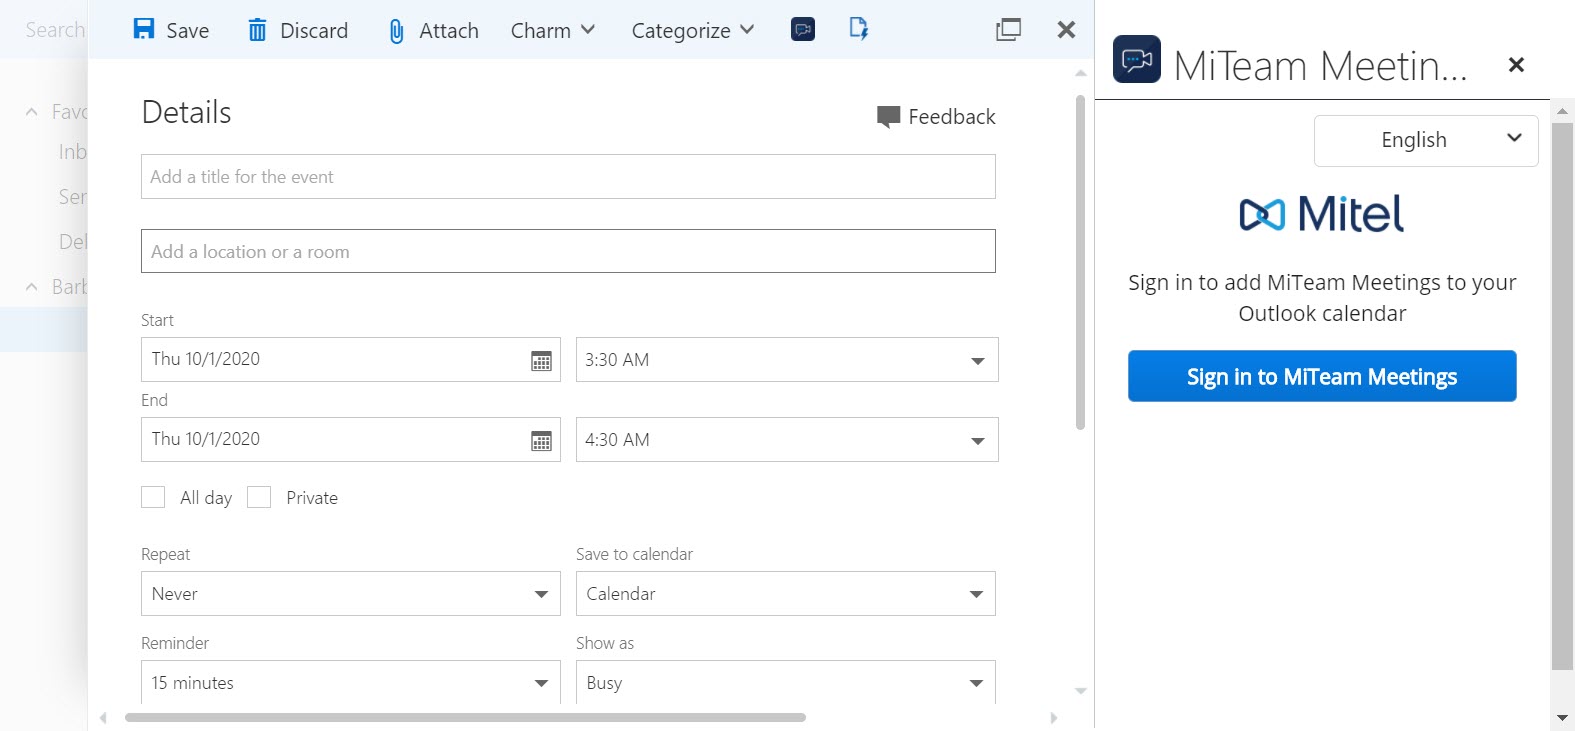
The Meetings task panel is displayed to the right of the Details panel.
- Outlook Desktop/MAC application
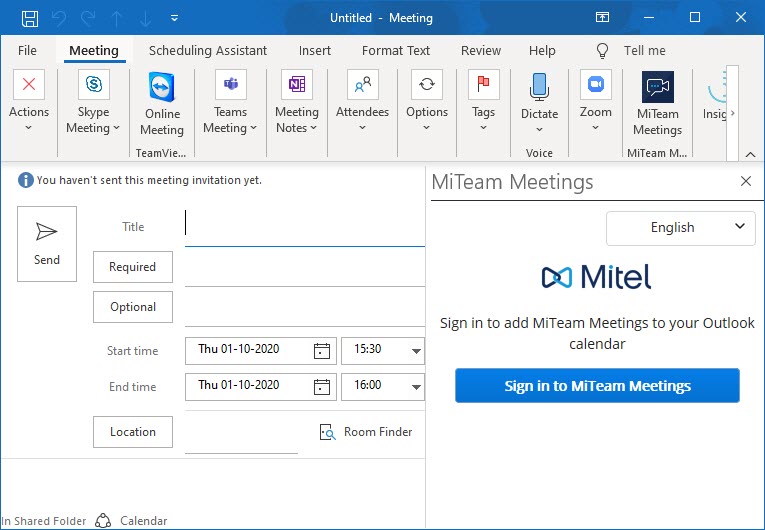
- Open your Outlook Desktop/MAC application and click Home > New Items > Meeting. The Meeting panel opens.
- In the Meeting tab, click Meetings.
The Meetings task panel is displayed to the right of the Meeting panel.
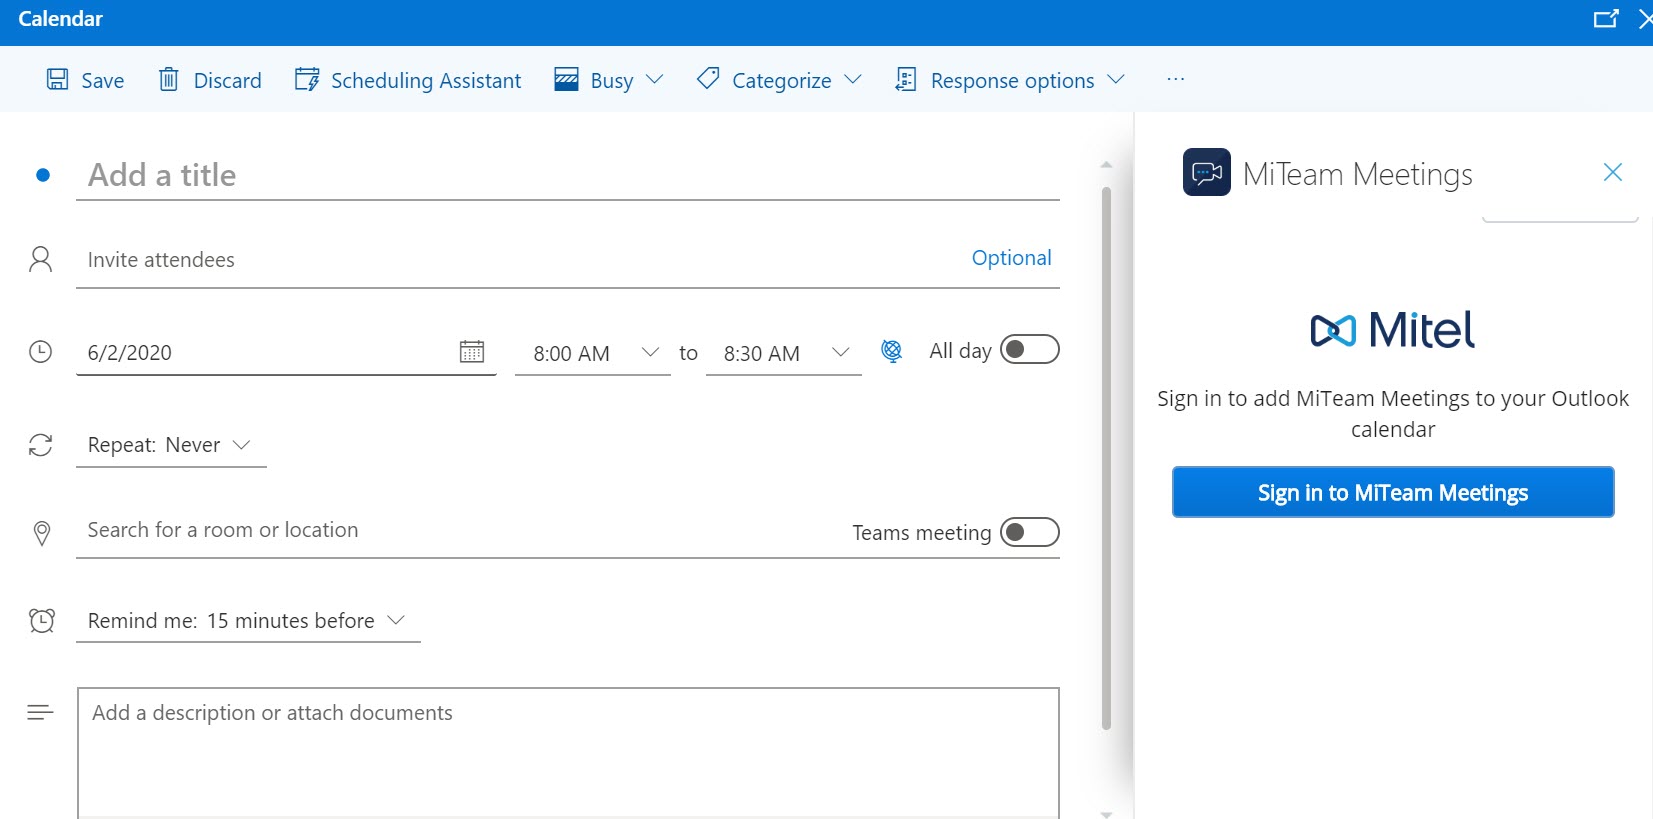
- Outlook Web application for Office 365
- Sign in to your Mitel One account by clicking Sign in to Meetings. The Mitel Accounts login page opens in a new window.
Note: If you are using Outlook Web Application, you will be prompted to allow permission to display a new window when you click Sign in to Meetings. Click Allow.
- Enter the email address and the password for your Mitel One account and follow the prompts to log in.
Note:
- If your email address is registered with multiple customer accounts, a Multiple accounts located. Additional account information needed to proceed message is displayed and the Account ID field appears. Enter the Account ID in this field.
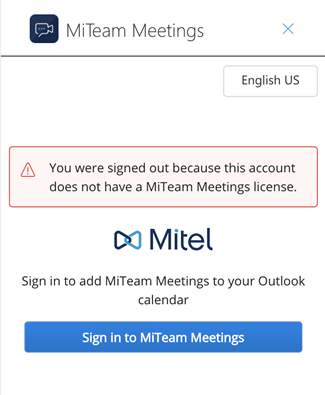
- You must have a valid Mitel One subscription to log in to the Meetings account. If you do not have a valid subscription, the application will display the message shown in the following figure.
After successful login, you will be redirected to the Outlook application, and the Meetings task panel is displayed as shown in the following figure.
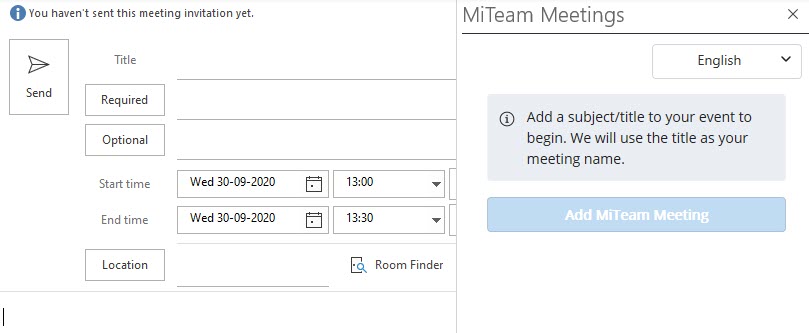 Note: You can change the default language set on Meetings task panel by clicking the language selector option, and selecting any language from the dropdown list.
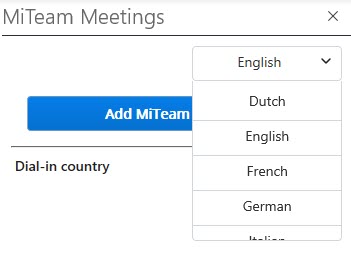
Scheduling a Meeting
To schedule or create a Mitel One meeting from your Outlook, use the following procedure.
- Open your Outlook Calendar and create a new meeting. A panel opens where you must enter the necessary information for the meeting.
- Access the Meetings task panel by performing the following steps:
- Outlook Web application for Office 365
Click
and from the panel that opens, click Meetings. - Outlook Web application for Exchange 2016/2019
Click the
icon at the top of the panel. - Outlook Desktop/MAC application
In the Meeting tab, click Meetings.
- Outlook Web application for Office 365
- The Meetings task panel is displayed to the right of the meeting panel.
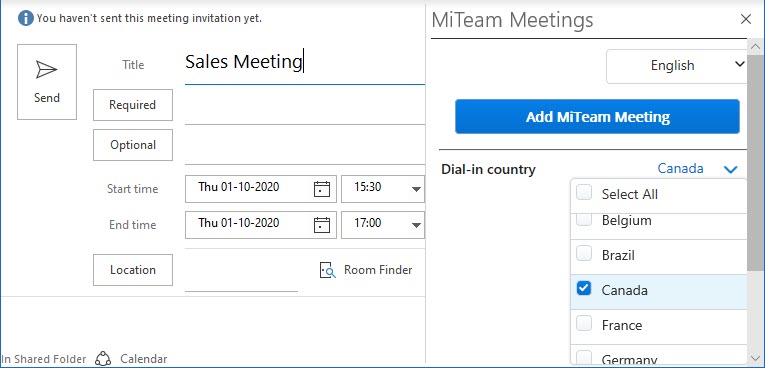
- Enter the meeting details such as Title, Start Time, End time and Location, and add the invitees.
- In the Meetings task panel, click the down arrow beside Dial-in Country. A list of countries for which there is a dial-in number is displayed. Choose the country you want to add to the invite by selecting the check box associated with that country.
Note: The selected dial-in country will become the default country for all future meetings.
- Click Add Meeting. A meeting is created and appears in the Meetings section of your Mitel One application. The meeting also appears in the Meetings section of the invitees. The calendar invite in Outlook is automatically populated with a Join meeting option, the dial-in number, and the link to the Global call in numbers. The URL of the meeting is populated in the Location field.
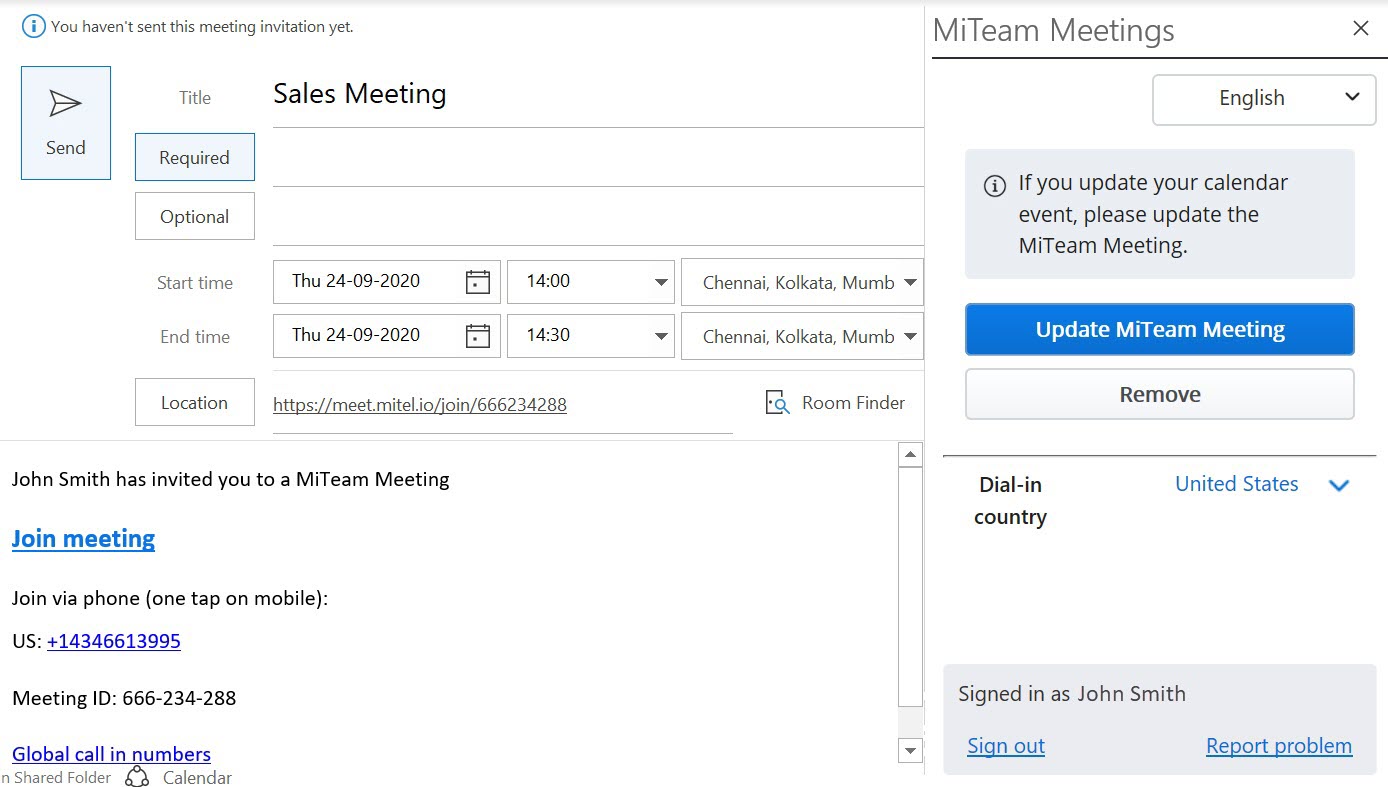
The invitees on your calendar invite will be added to the Invited list of the meeting in the Mitel One application.
Editing a Meeting
To edit a Mitel One meeting created from your Outlook, use the following procedure.
- Open Outlook Calendar.
- Double-click the meeting you want to edit. The meeting panel opens.
- Access the Meetings task panel by performing the following steps:
- Outlook Web application for Office 365
Click
 and then click . From the panel that opens, click Meetings.
 - Outlook Web application for Exchange 2016/2019
Click the
icon at the top of the panel. - Outlook Desktop/MAC application
In the Meeting tab, click Meetings.
- Outlook Web application for Office 365
- The Meetings task panel is displayed to the right of the meeting panel.
- Make the necessary changes to the meeting (edit the meeting title, add, or remove participants, or change the dial-in country) and click Update Meeting to apply the changes.
Note:
- If you update the title of the meeting in Outlook and click Update Meeting, the name of the meeting in the Mitel One application will also be updated.
- If you update the participants list in Outlook and click Update Meeting, the Invited list of the meeting in the Mitel One application will also be updated.
- Click Send in the Outlook Web application or click Send Update in the Outlook Desktop/MAC application to send an update to the invitees.
Remove a Meeting
To remove a Mitel One meeting created from your Outlook, use the following procedure.
- Open Outlook Calendar.
- Click the meeting you want to remove. The meeting panel opens.
- Access the Meetings task panel by performing the following steps:
- Outlook Web application for Office 365
Click
and then click . From the panel that opens, click Meetings. - Outlook Web application for Exchange 2016/2019
Click the
icon at the top of the panel. - Outlook Desktop/MAC application
In the Meeting tab, click Meetings.
- Outlook Web application for Office 365
- The Meetings task panel is displayed to the right of the meeting panel.
- Click Remove from the Meetings task panel. The meeting details in the calendar invite will be deleted, and the meeting will be removed from the meetings list in your Meetings section and that of the invitees, in the Mitel One application. However, the title of the calendar invite and the invitees will remain the same.
Note: Cancelling a meeting from the Outlook Calendar will not delete the meeting from the Mitel One application.
Report a Problem
To report a problem you faced with the Meetings add-in, use the following procedure.
- In the Meetings task panel, click Report Problem. The Submit an issue panel opens.
- Enter a title for the issue and provide a brief description of the issue including the steps to reproduce the issue. Click Add Screenshot if you want to attach a screenshot of the issue. Click Send.
Signing out of the Meetings Add-In
Click Sign out in the Meetings task panel to sign out of your Meetings add-in.