Installing MX-ONE Classic
This section describes the installation of the subracks containing the MX-ONE Classic boards in the cabinet.
This section does not describe the installation of separate boards in the subrack. The MX-ONE Classic consists of one subrack.
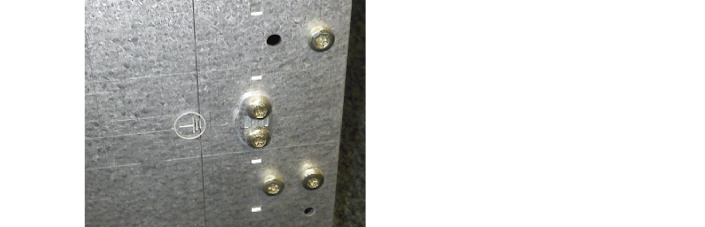
This equipment have to be connected to protective ground. Connect a grounding cable to the bracket at the earthing point, close to the earthing symbol located at the right hand side of the chassis. See Figure 1.
This section also describes installation of two subracks, the upper called A and the lower called B. Both can of course be a Subrack A.
Use the following material sets when installing the MX-ONE Classic and Fan Unit:
If only one subrack is to be installed mount the lower air plate on this subrack. To fulfill the demands on Fire Enclosure for the 7U chassis, the Air plate SXA1122330/1 included in NTM144262 have to be mounted.
For instructions see Mounting the Lower Air Plate.
|
NTM 144 262 Mounting set for subrack A |
|||
|---|---|---|---|
|
Pos. |
Title/Function |
Product Number |
Quantity |
|
D |
AIR PLATE, upper |
SXA 112 2329/1 |
1 |
|
E |
AIR PLATE, lower |
SXA 112 2330/1 |
1 |
|
C |
SCREW M 6X16 |
78/SBA 121 060/0160 |
8 |
|
A |
CAPTIVE NUT M6 |
SBM 173 060/03 |
8 |
|
F |
SCREW M 4X6 |
24/SBF 228 040/0060 |
2 |
|
G |
CABLE LUG |
SNG 804 23 |
1 |
|
K |
LABEL FOR ESD |
SVB 129 05/2 |
1 |
|
NTM 144 263 Mounting set for subrack B |
|||
|---|---|---|---|
|
Pos. |
Title/Function |
Product Number |
Quantity |
|
H |
Air plate, front |
SXA 112 2331/1 |
1 |
|
I |
Air plate, rear |
SXA 112 2332/1 |
1 |
|
C |
SCREW M 6X16 |
78/SBA 121 060/0160 |
4 |
|
A |
CAPTIVE NUT M6 |
SBM 173 060/03 |
4 |
|
F |
SCREW M 4X6 |
24/SBF 228 040/0060 |
2 |
|
G |
CABLE LUG (only used if the two subracks are mounted in separate cabinets) |
SNG 804 23 |
1 |
|
K |
LABEL FOR ESD (only used if the two subracks are mounted in separate cabinets) |
SVB 129 05/2 |
1 |